projects
contact/buy

Last Making with PCL part II
A while ago I wrote a post about making polycaprolactone (PCL) shoe lasts. The process there described does work, but in addition to requiring a shoe of the correct size, it takes a fair amount of work and the results are alright but not especially satisfying.
More recently I've taken to casting lasts using two part 3D printed PLA moulds but still using PCL. Without mould release the PCL sticks decently well to the PLA, but with a fairly generous amount of spray on teflon mould release, it comes out extremely easily.

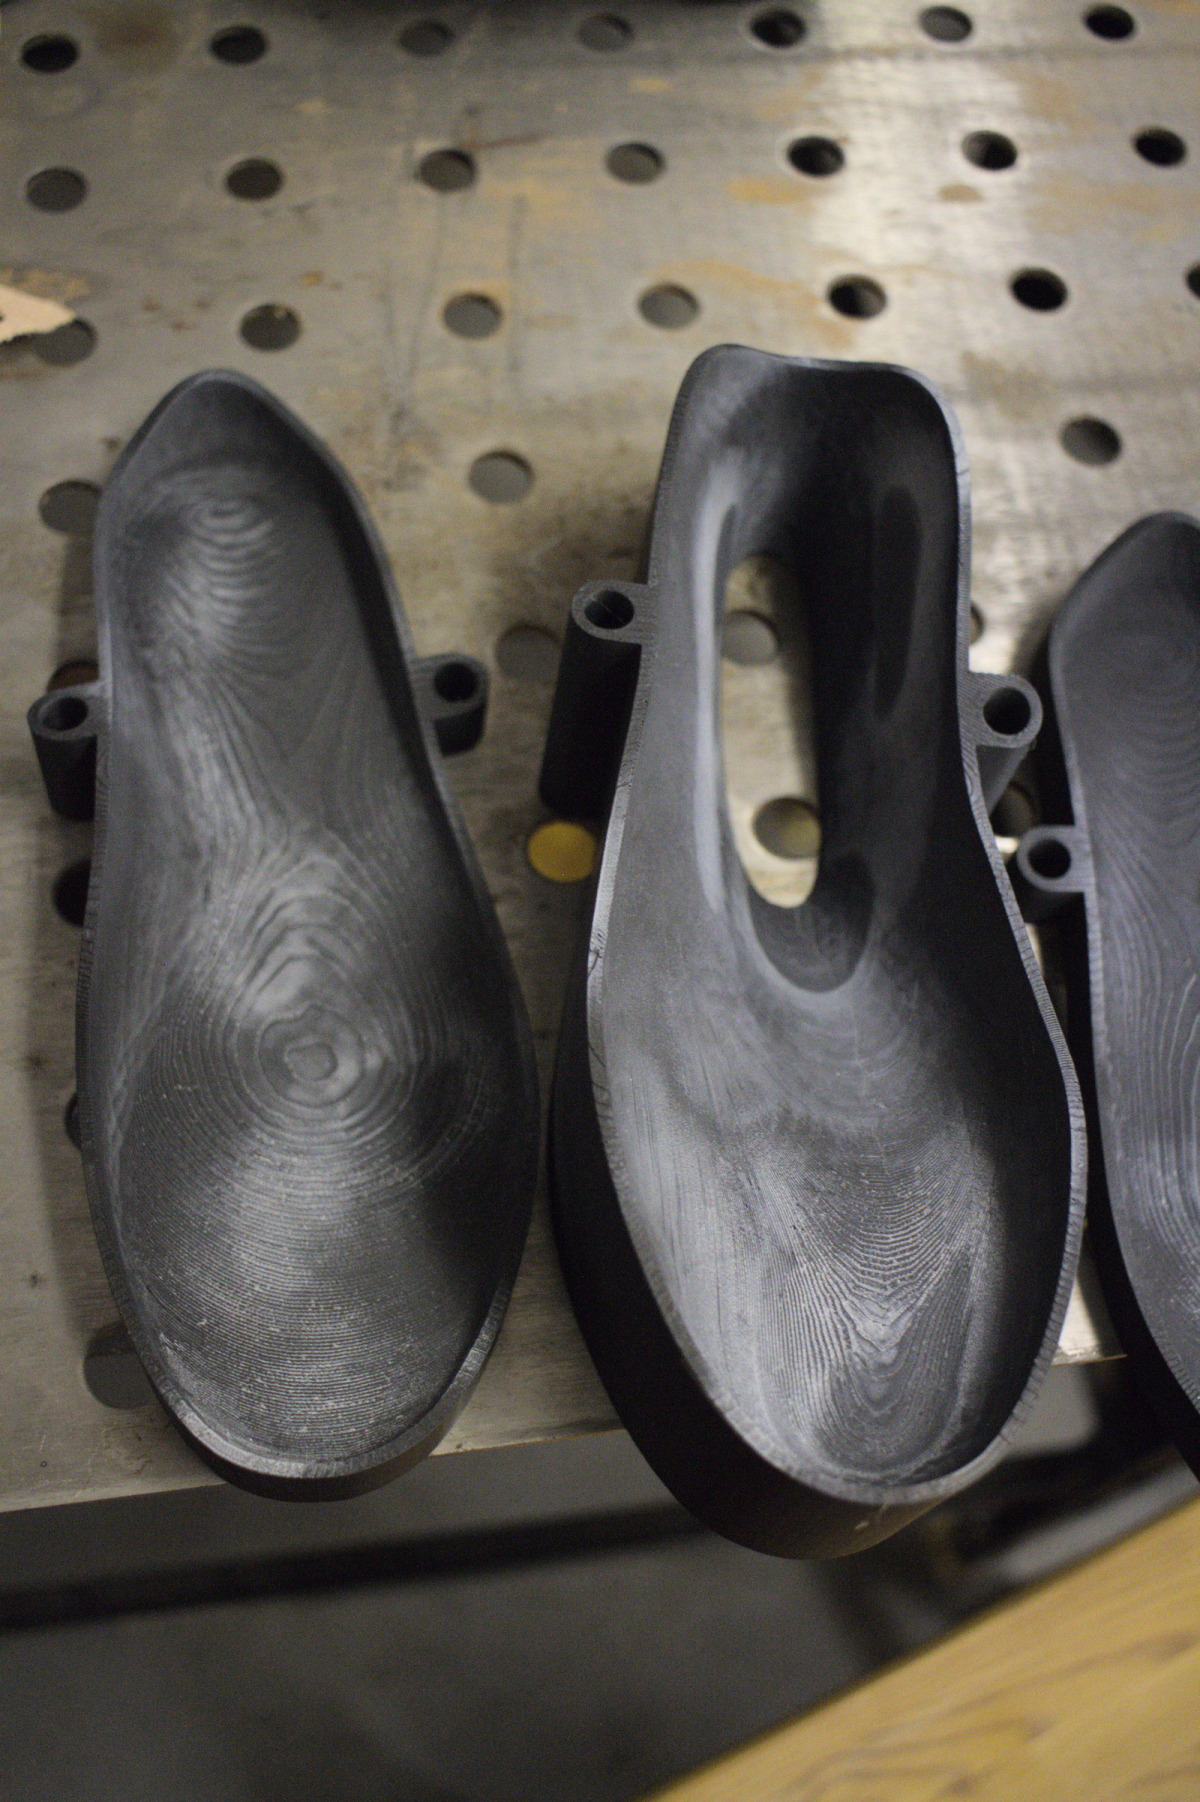
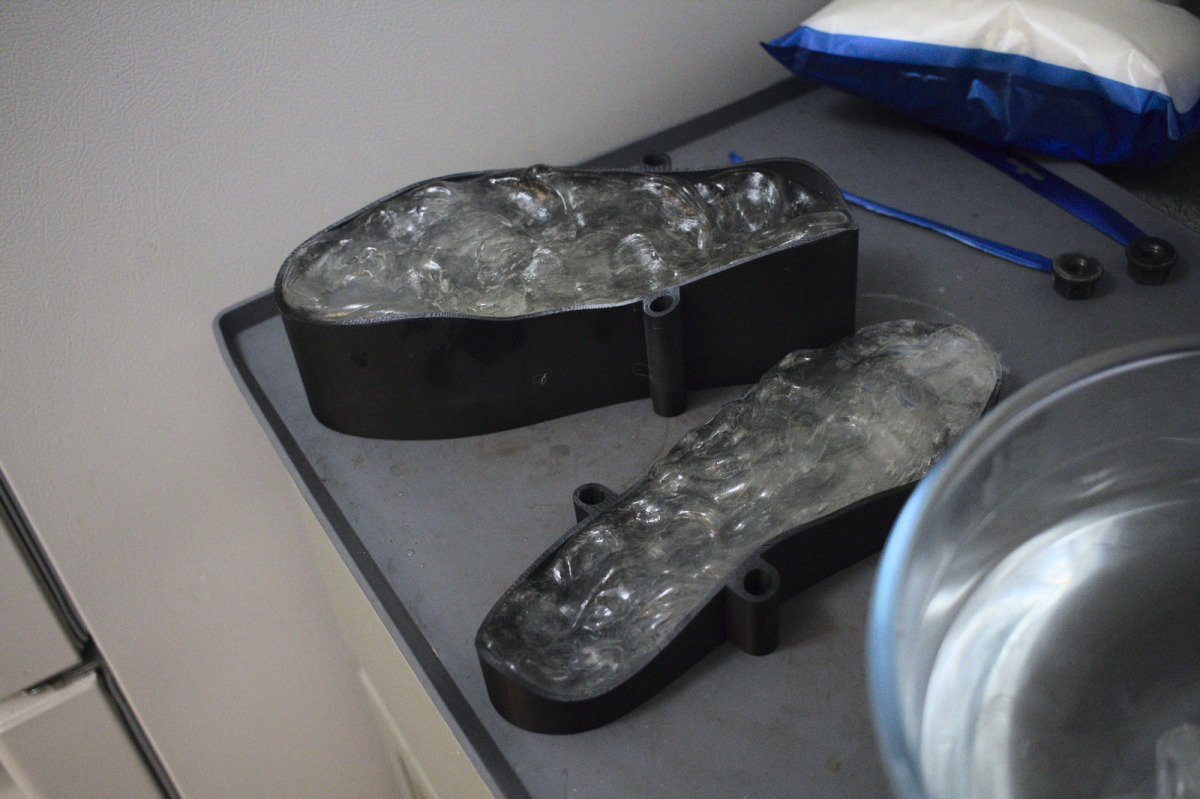
A set of 3d printed last moulds.
The same moulds with teflon mould release sprayed on. I have taken to spraying quite a few layers on, just one does not really work.
The first set of moulds I used lacked the alignment holes which made the process quite a bit more difficult.
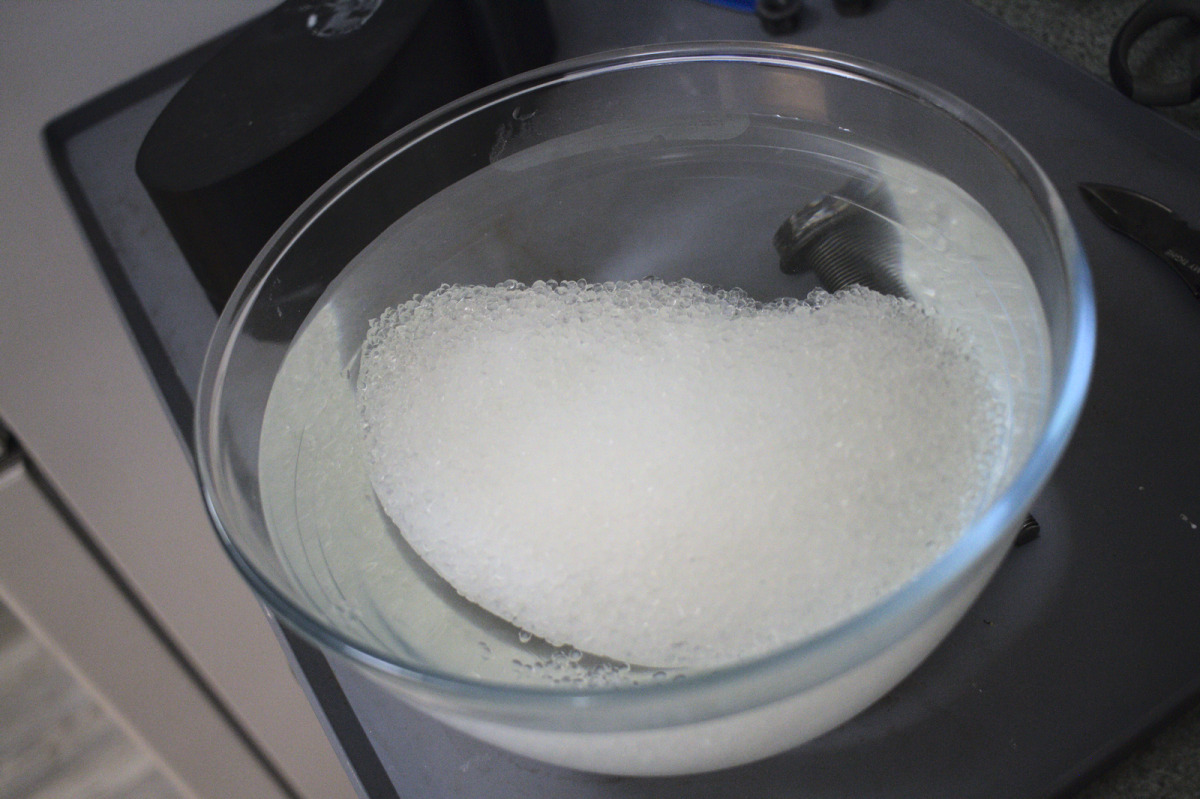
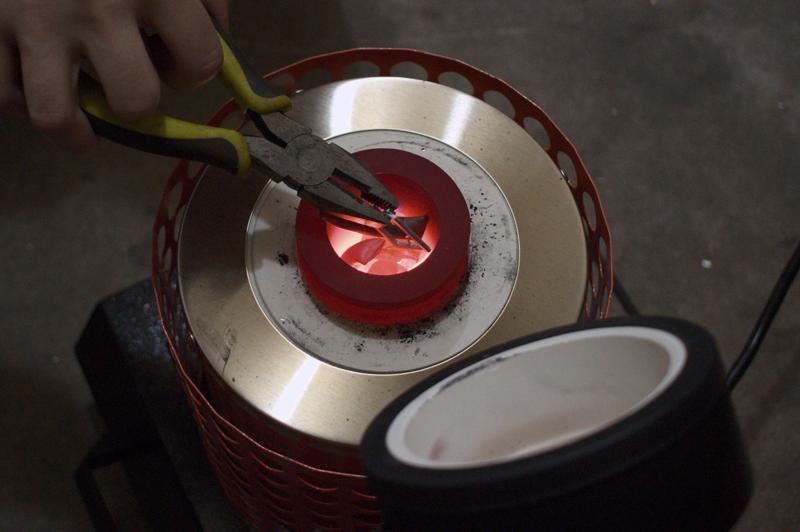
Melting PCL pellets in hot water.
The melted PCL is quite viscous, the easiest way to cast it seemed to be to fill both halves seperately and then slap them together. I get a few bubbles sometimes but not that much.
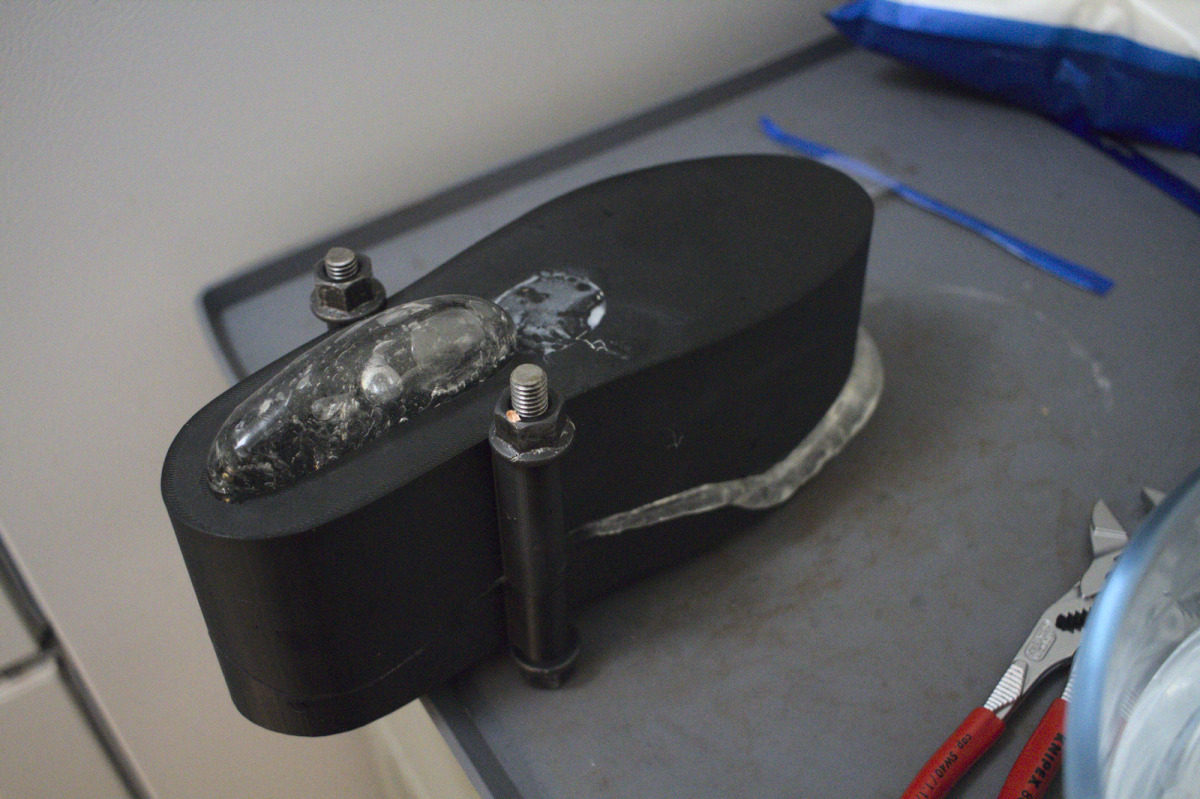
The halves put together and screwed shut. Perhaps I ought to have a third pin on the toe. I attached a clamp after this picture was taken.
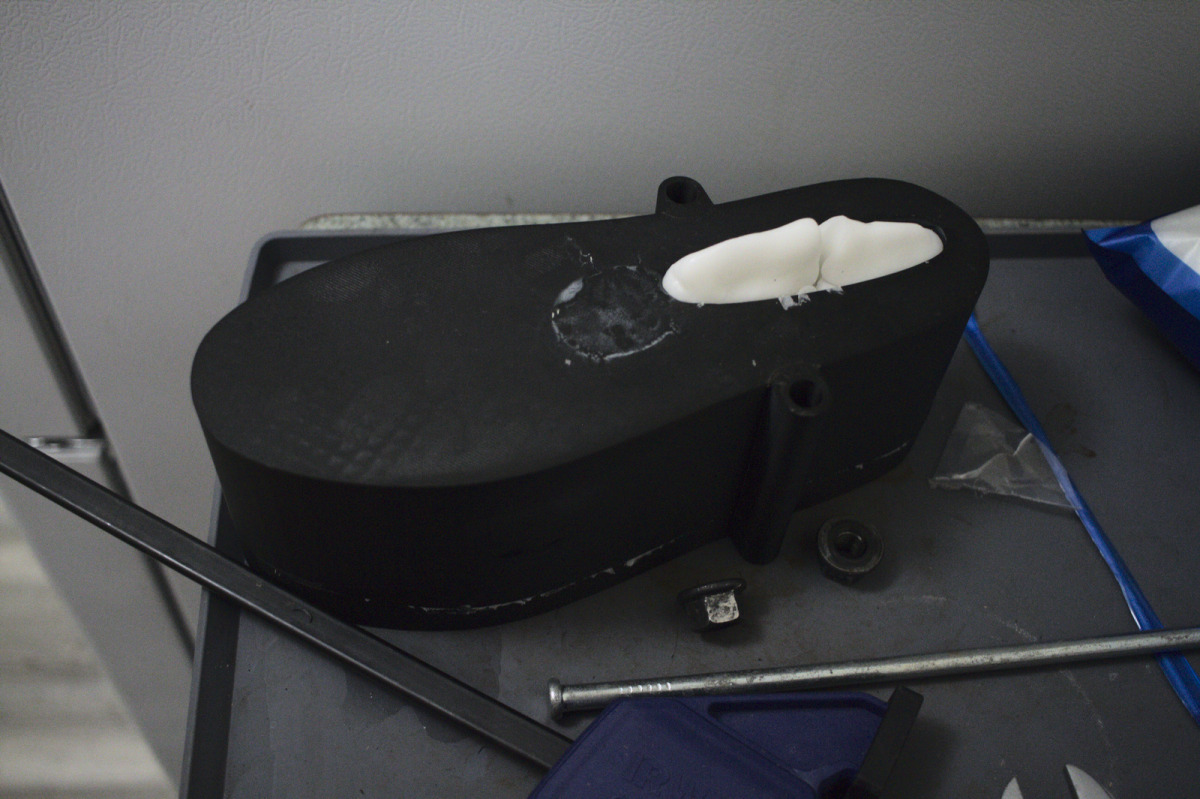
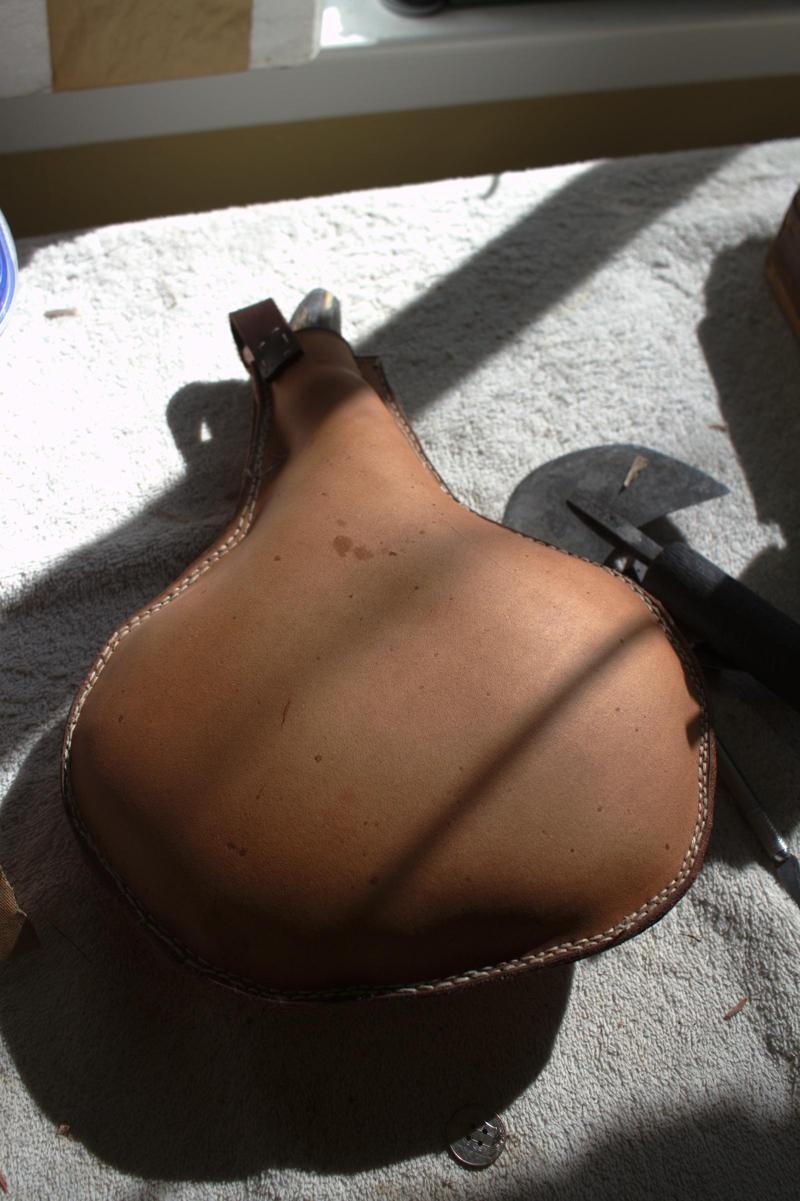
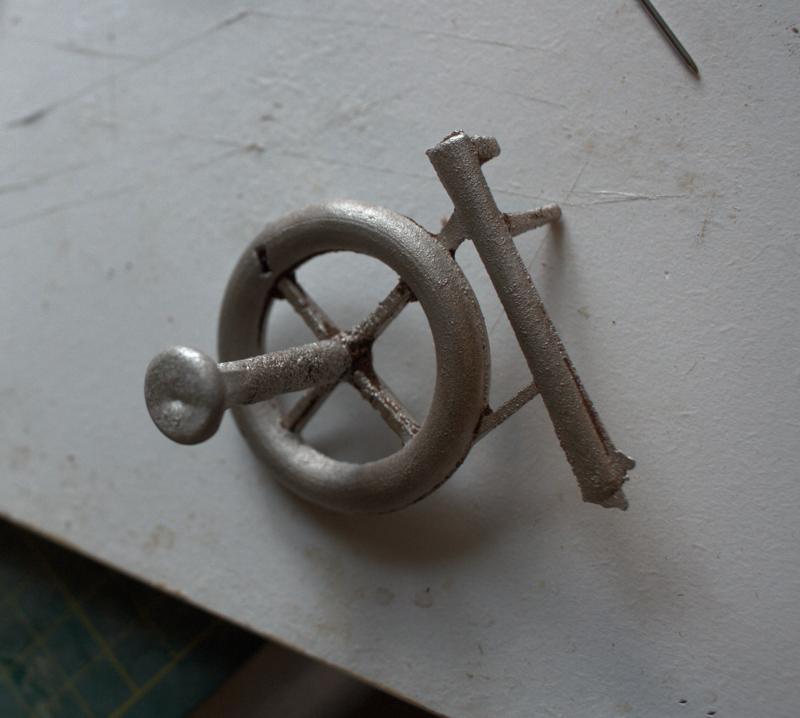
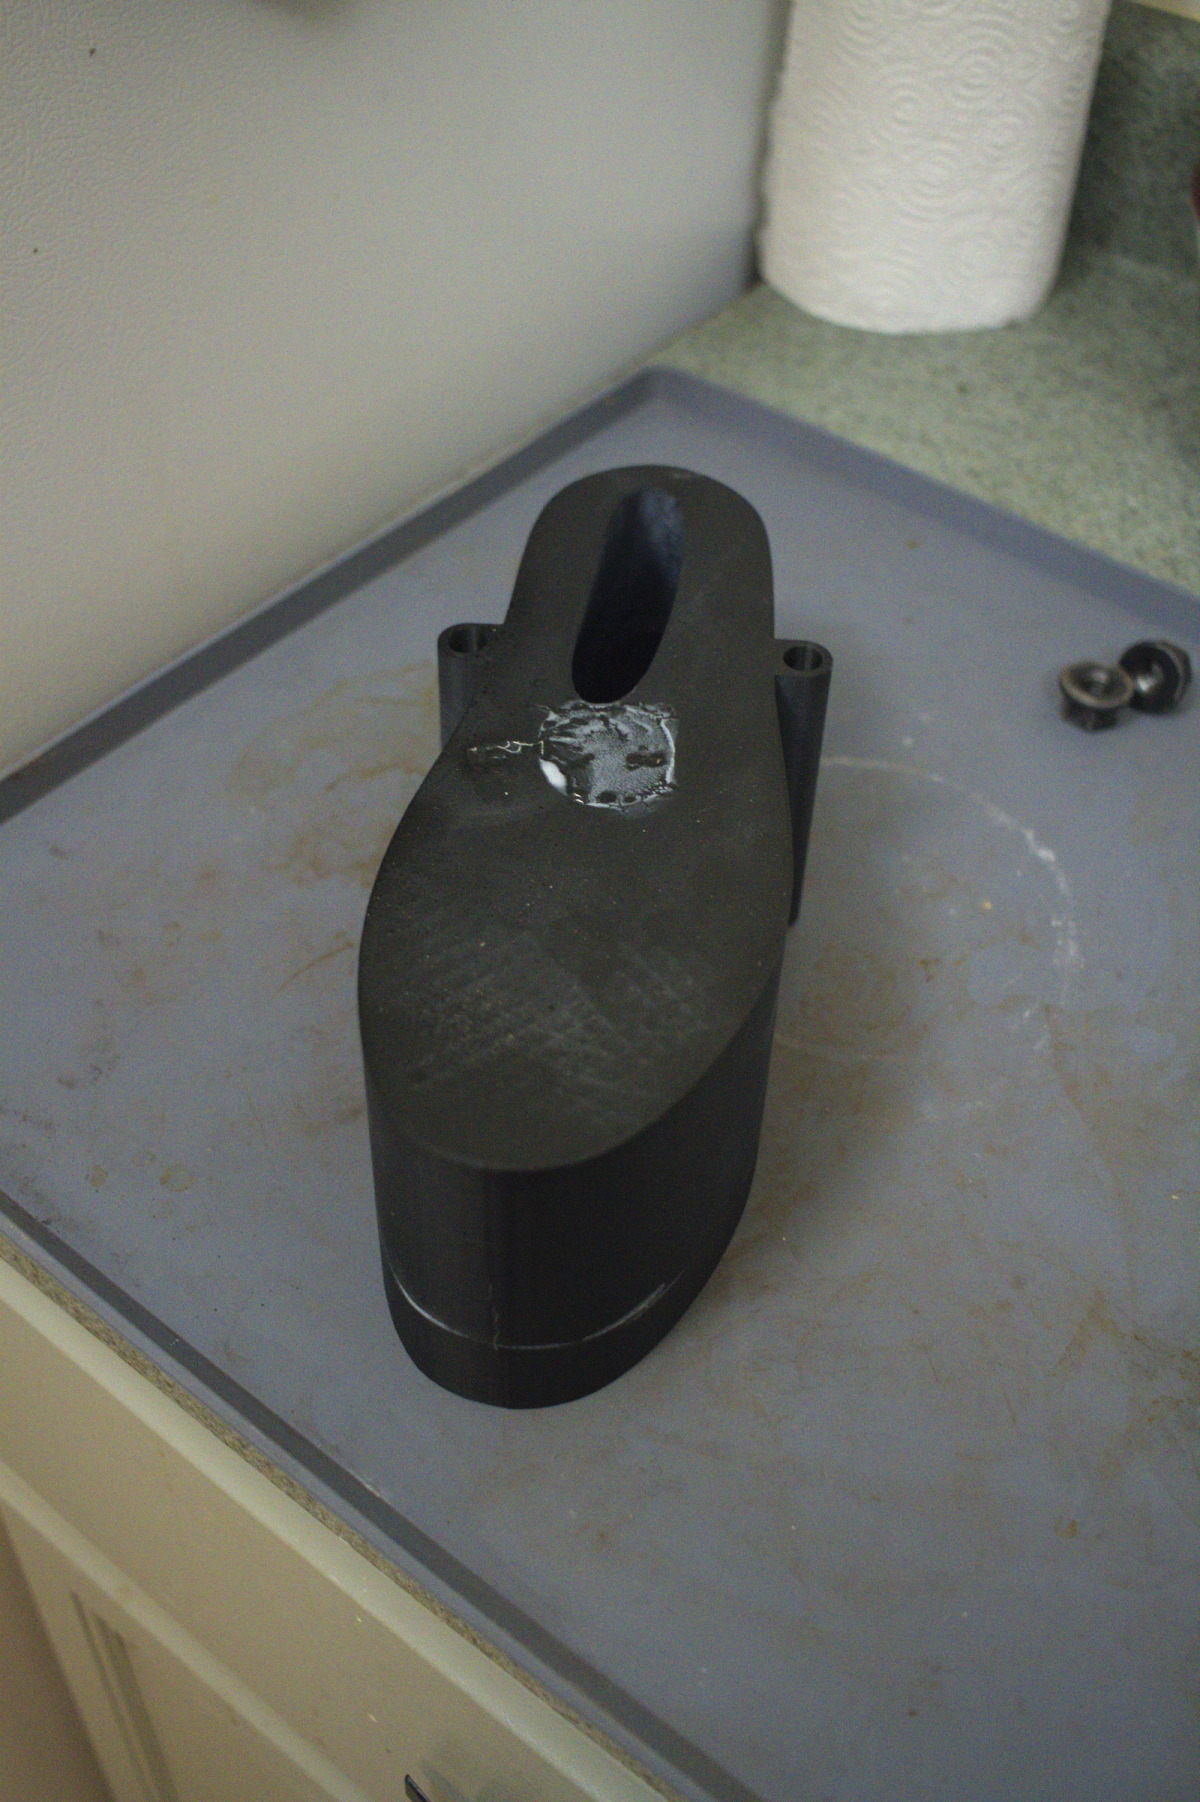
And now after it has significantly hardened. I have moulded the angle section so that its smaller than the mould opening, to facilitate easy removal. Though hard to see, I have also used the large nail in the image to set a shaft in the last that can be used for extra leverage when removing from a shoe.
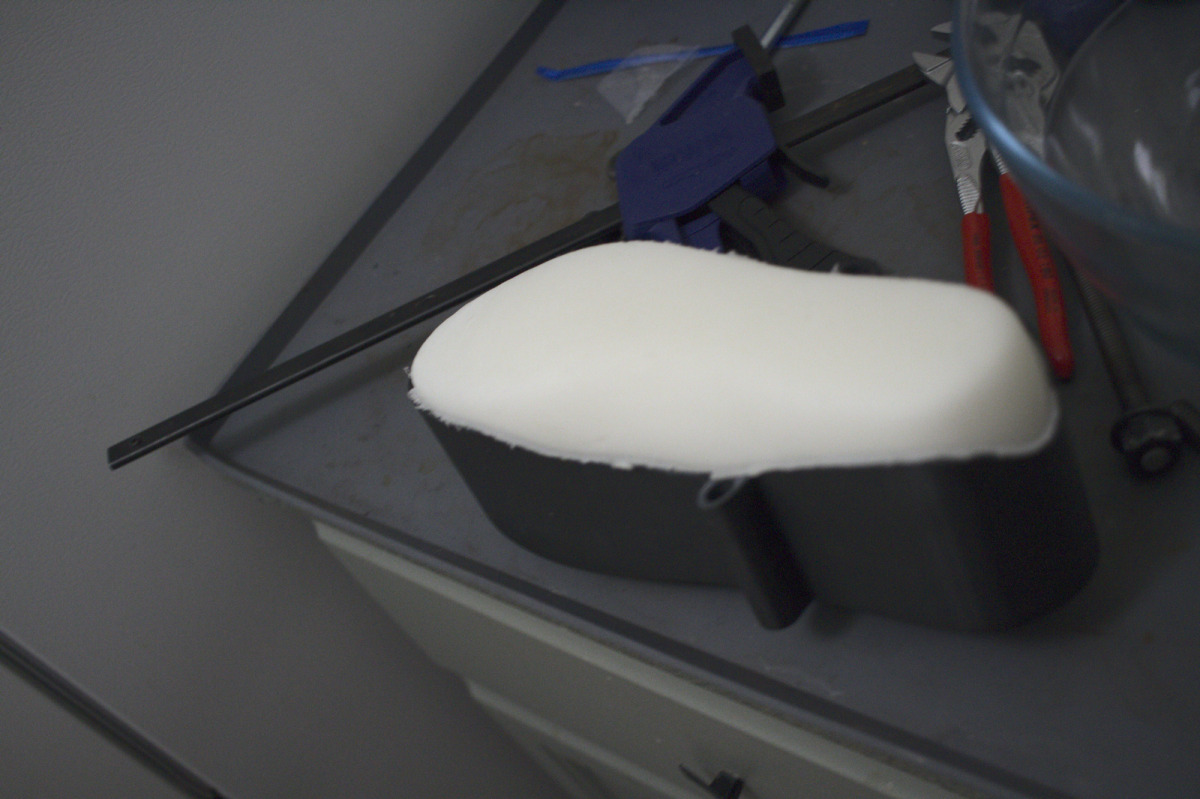
Unfortunately its very bright, but here is the last with the bottom removed. With enough mould release its very easy to pry it open by hand or with a pocket knife.
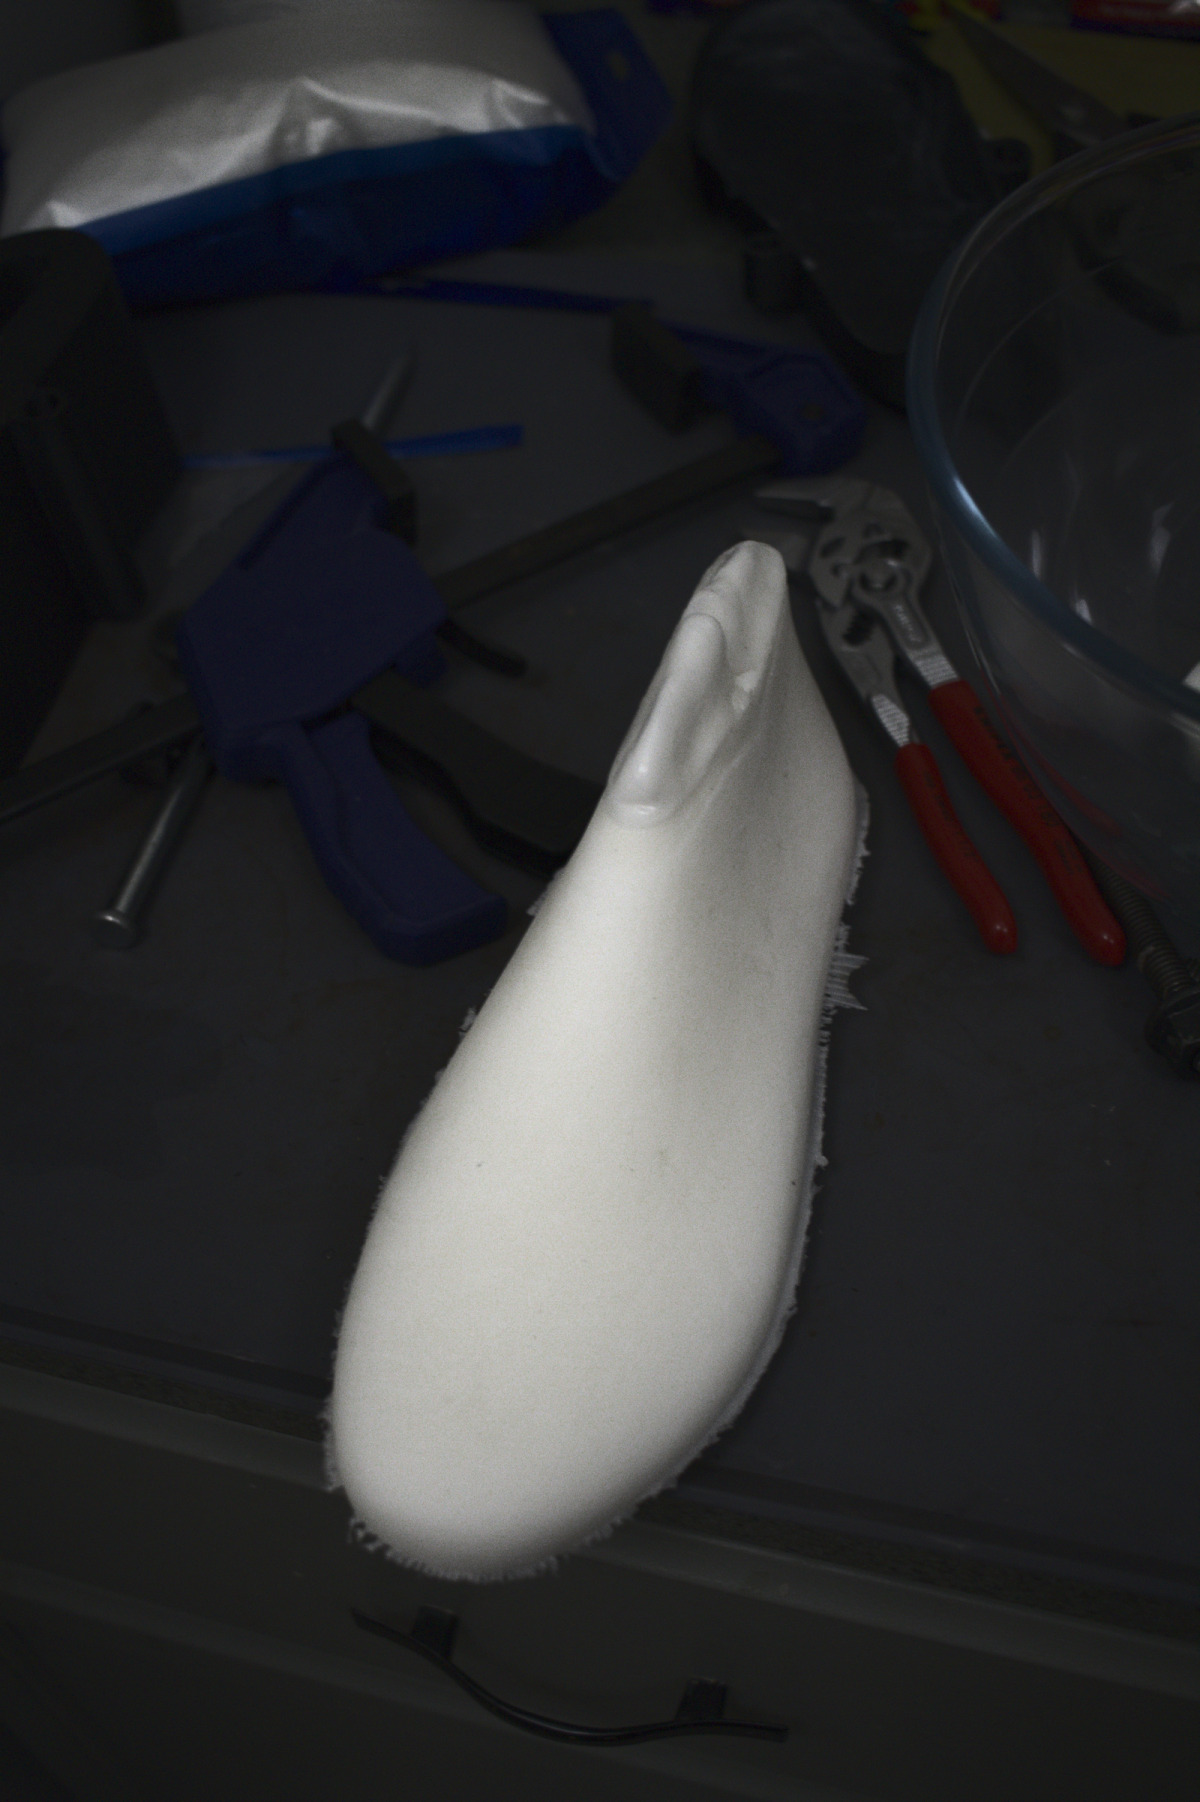
Now fully removed. If done right the top half can be removed by just rapping the protruding section on a heavy surface.
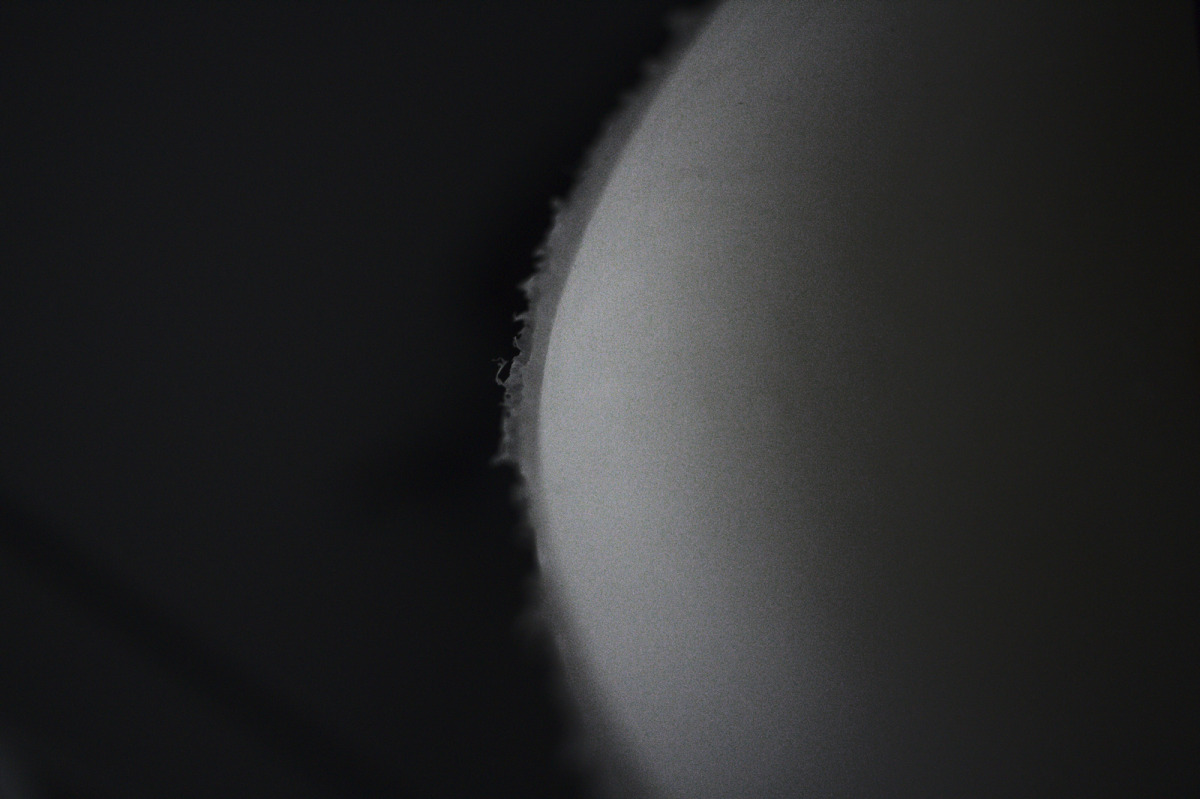
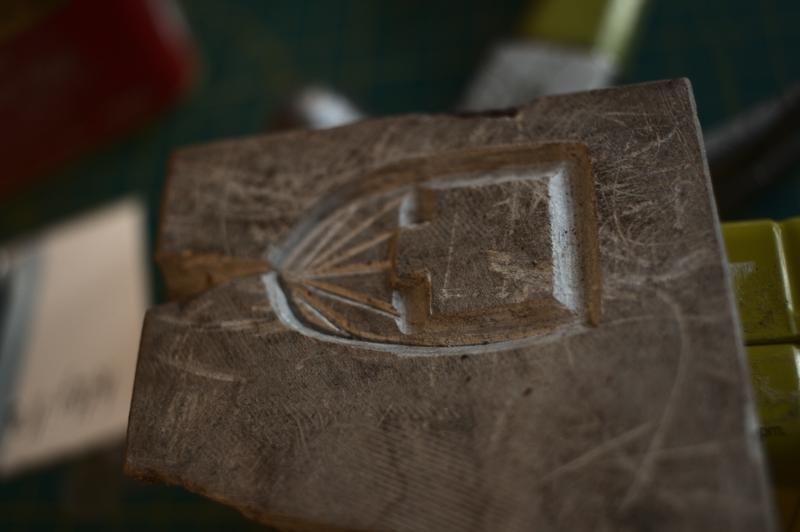
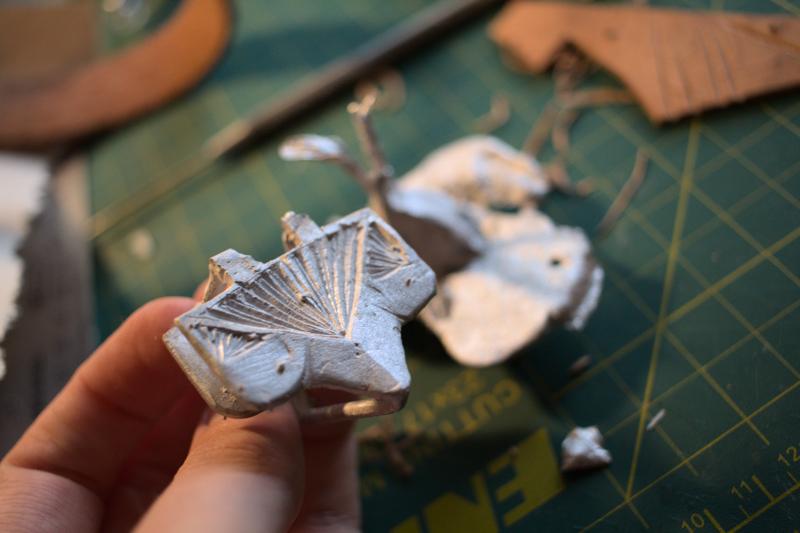
Closeup shot showing some of the flash on the mould. Most of this is very thin and can be cleaned up quickly with a knife, or with a heatgun it can be pressed back into the mould.