projects
contact/buy
Experiments with Reusable Mould Casting
With investment casting each cast becomes a significant investment of time, as one must make the model, pour the plaster, and do burnout for each individual cast. For simple shapes this work isn't neccisary, and a simpler two-part mould can suffice.
Making the Mould
I decided to make a reusable mould from soapstone. Soapstone is a rock composed significantly of talcum. It is so soft it can be scratched with the fingernail, and is easily carved into smooth shapes. Soapstone casting moulds have been discovered in Troy. Cutting and carving it is in some ways quite like the green wax, and I used the same tools for it, including the wax saw.
After getting two peices to use I needed to get them flat and relatively smooth. This was done roughly with a metal file, and more carefully with lapping them against eachother, as well as a third peice of soapstone. Beveling the edges (also with the file) made a surprising difference.
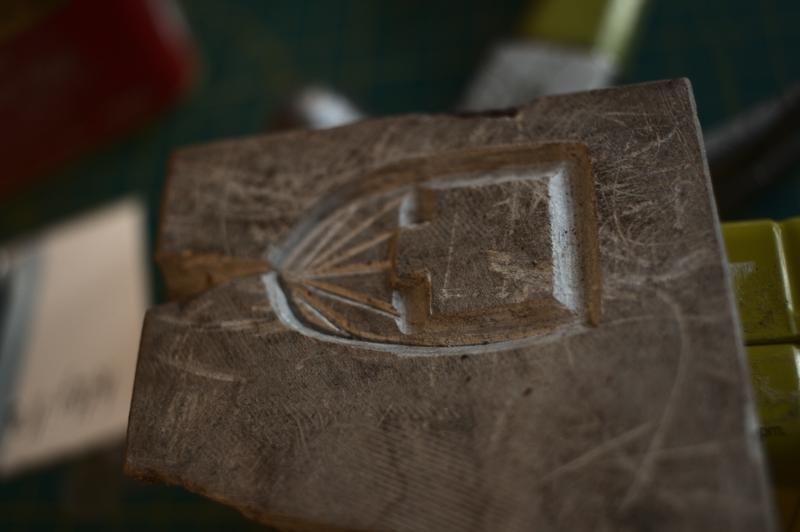
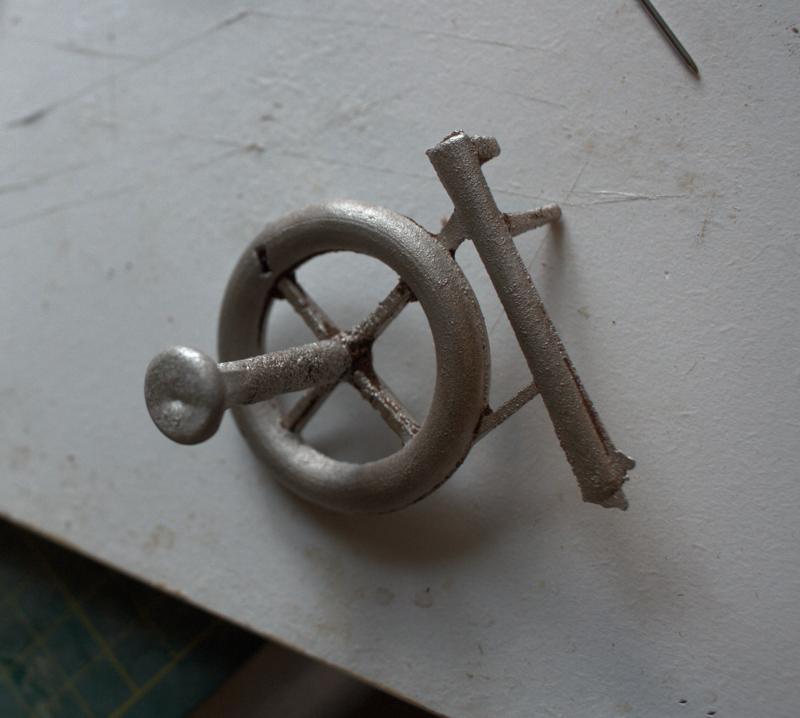
After I was satisfied, that is when I could no longer see any gaps throughwhich light could come when I held them together, I moved on to carving the mould shape. I'm not terribly good at the symmetry and such but it seems to have come out allright. This buckle is made in two parts, the spike and the body. You can see space for fold over tabs in the body that I intend to hold the spike in place.
As I haven't a great system for ensuring alignment (I should probably drill some holes for alignment pins) I opted to just do it as a single peice mould, with a second half that is simply flat. Given what I'm casting this doesn't seem to be a great problem, but for other things it would be nice to do two sides.
Casting
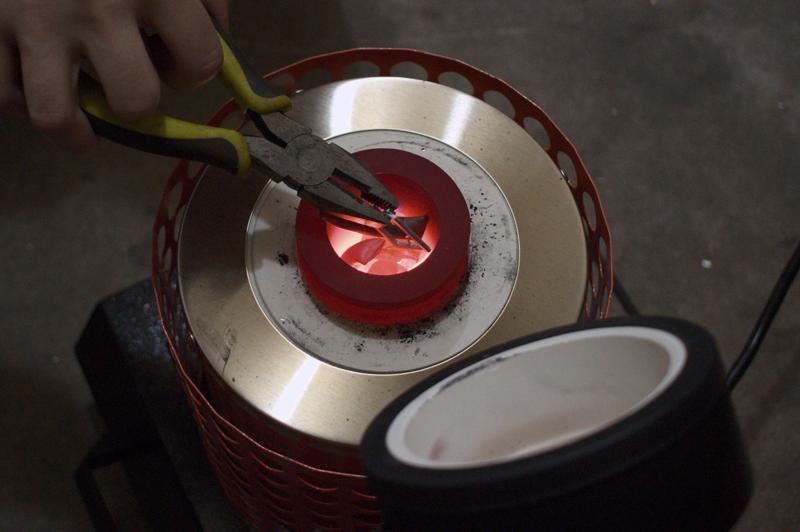
As I've been getting frustrated with aluminium's tendancy to oxidize I've been working with pewter here. A much easier metal to work with, if heavier and weaker. It has the crackly feeling of tin.
Soapstone is known for having a high heat capacity and so it seemed prudent to preheat the stone. My initial tests I think I didn't preheat it enough, and the casts didn't quite fill the mould, or appeared with significant bubbling on the rear. After widening the neck of the funnel and heating it longer, they came out quite nice, as I hope you can see.
My process was essentially to heat the stone in an electric furnace for about 30 minutes, about to the melting point of pewter, towards the end of that time I melted the metal with a torch (this happens very fast). After removing the mould (which I clamped shut with a steel clamp) and checking the alignment the pewter can just be poured in. In the successful casts a drop has always remained on the top of the funnel and remained liquid for a few seconds. This is probably hotter than it needs to be but it doesn't seem to matter. After waiting a bit I remove the clamp and split the mould.
Post Processing
There are only two real steps to this: first to attach the spike, second, to attach the buckle to some item.
Attaching the spike is a 'simple' matter of folding the two tabs over the spike's axle. Unfortunately this seems to be tricky and the tabs have tended to break a bit too easily for my taste. Ive tried to bend them when hot, and do it gently, but still its a tricky proceedure. Neither tab seems sure to break nor to work so I assume the error is in my folding and not strictly in the mould.
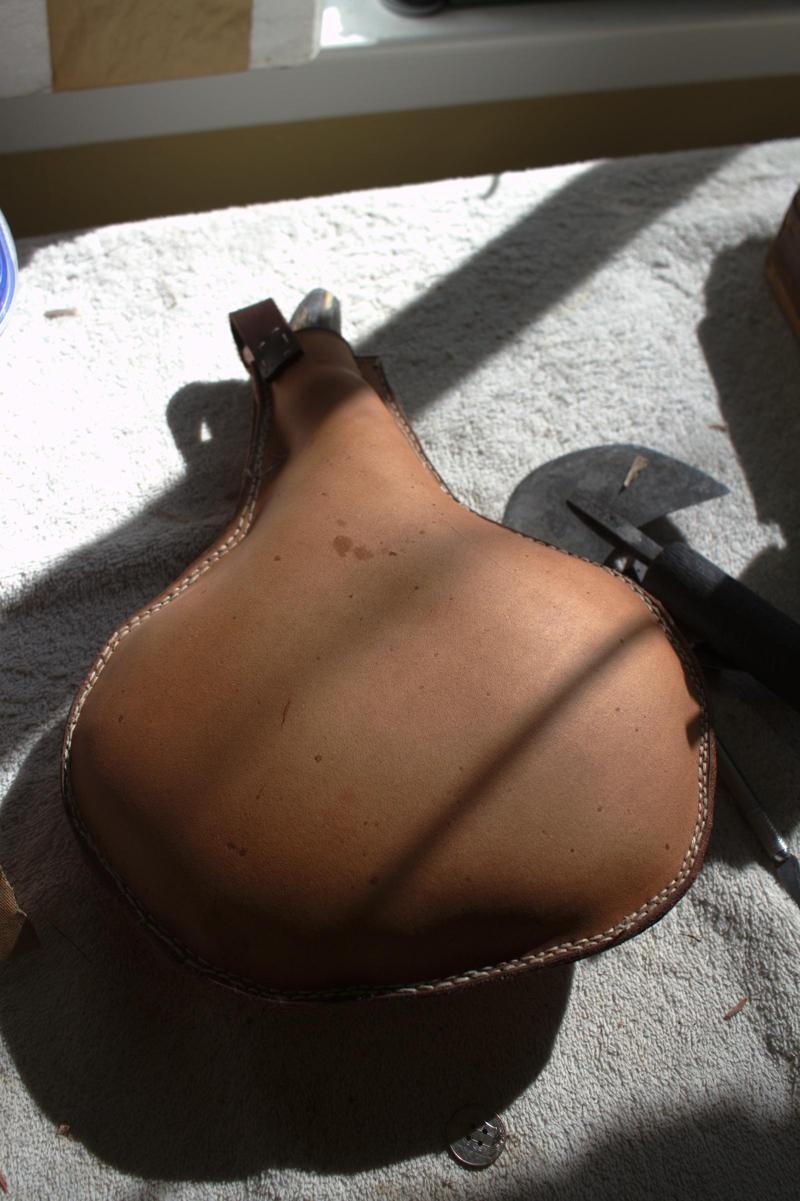
As for attachment, many historic belt buckles I've found information on (such as in the book From Attila to Charlemange) are described as being 'rivited' on, many with special back plates. Being a fan of clinched nails I figured this would be easily and is essentially a rivet. This method of attachment seemed to just work quite easily, one nail hammered straight through the plate and a leather peice over an anvil.
Concluding thoughts
Ive not given these any especially rigourous use as of yet, so I'm a bit concerned about i.e. the strength of the spike. Nevertheless overall seems to have worked so I'm fairly happy. Much easier than wax investment.

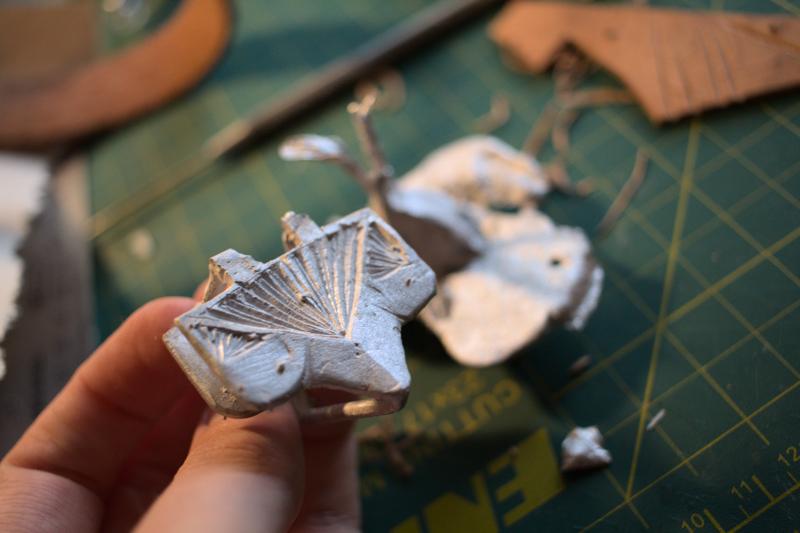
In process carving of buckle. Does not yet have fold over tabs or spike.
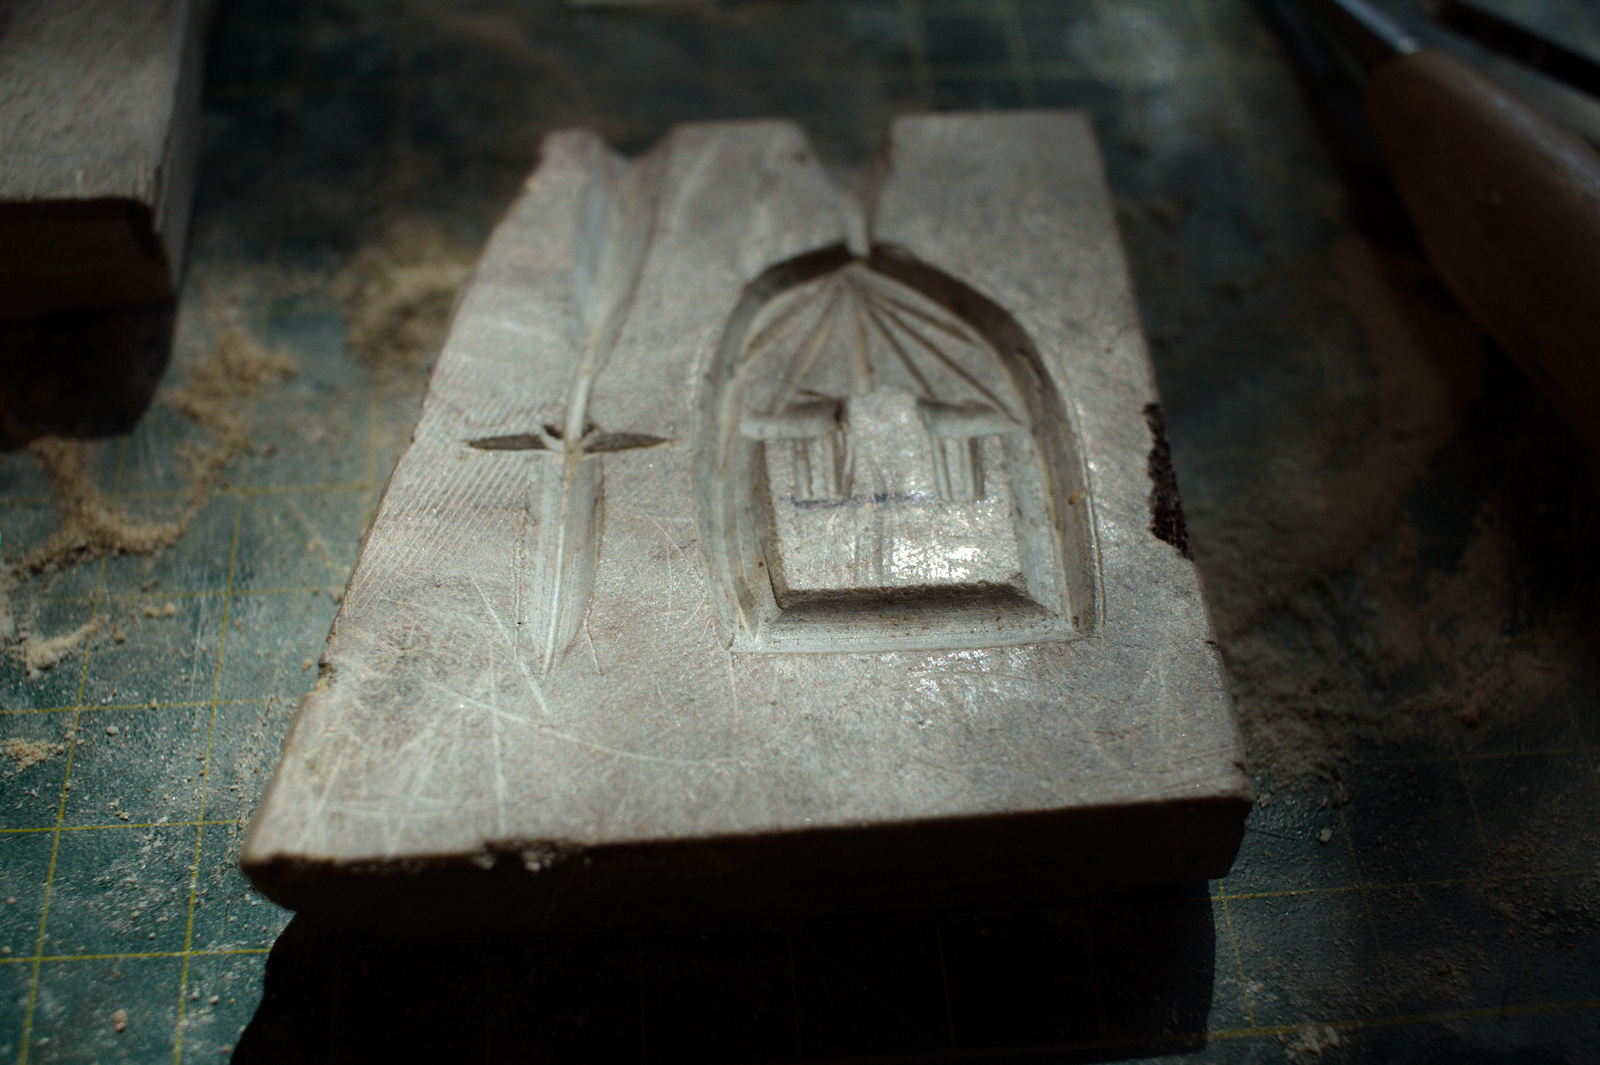
Essentially completed carving.
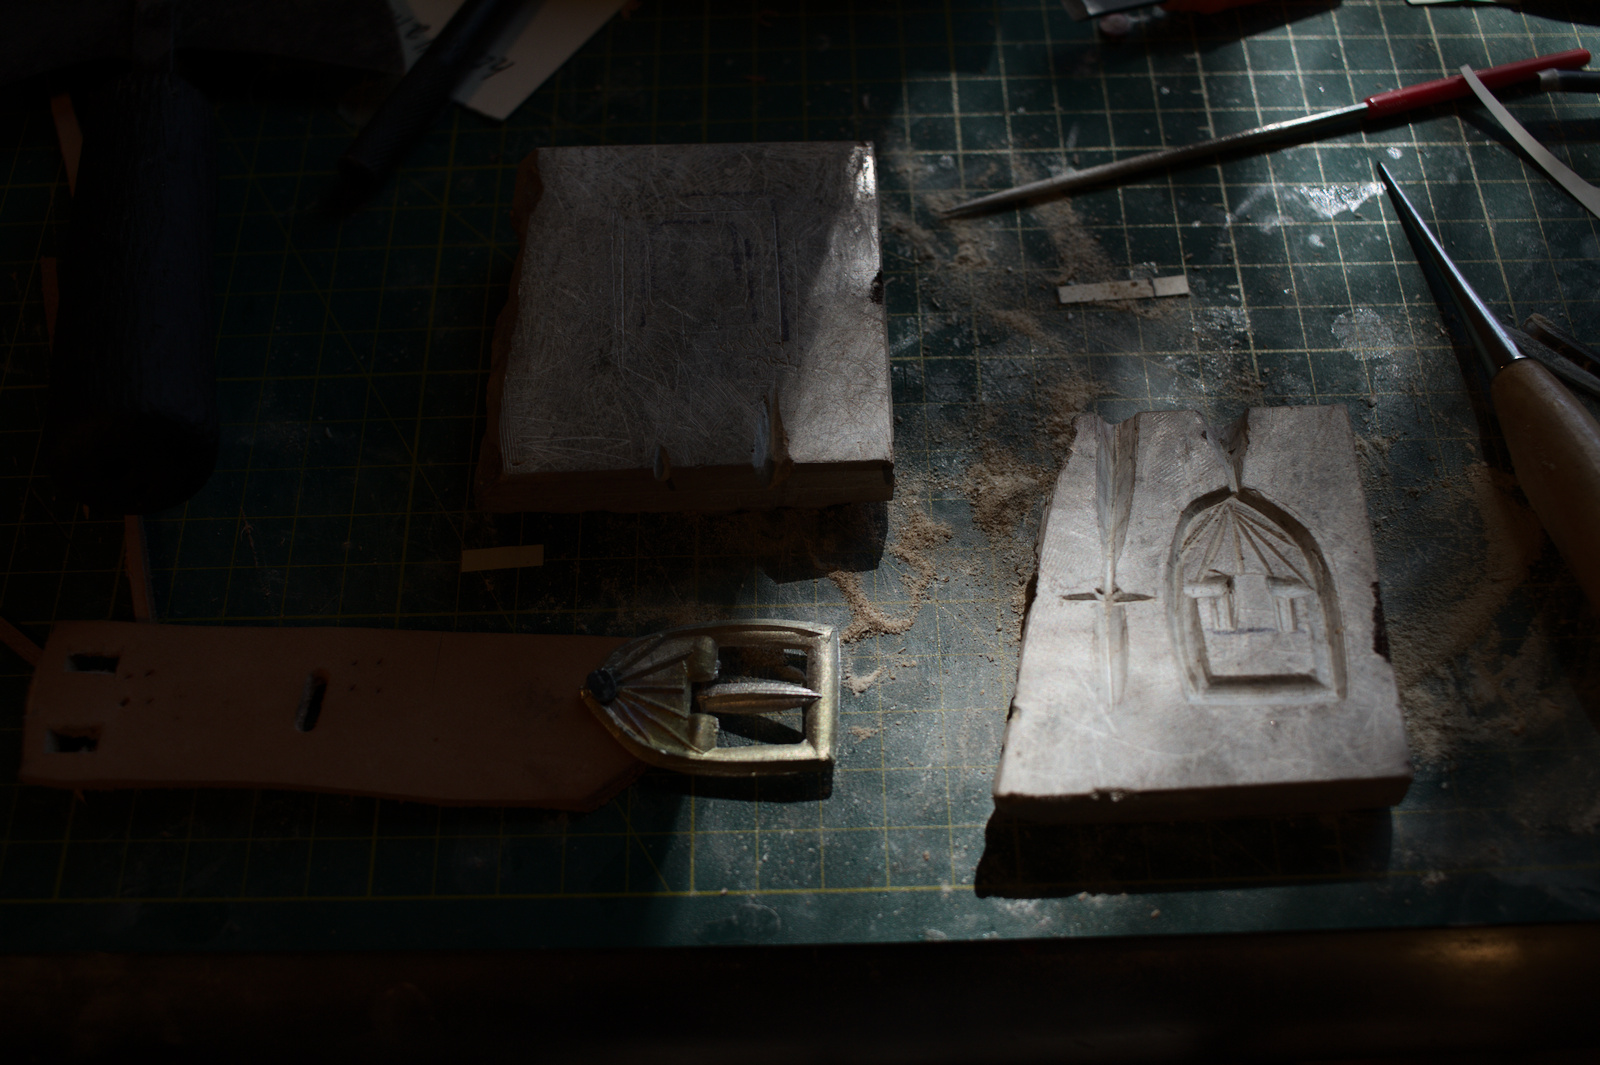
Here you can see a test installed buckle, and both halves of the casting mould. The upper one just has some scratches and spaces for funneling in the metal.
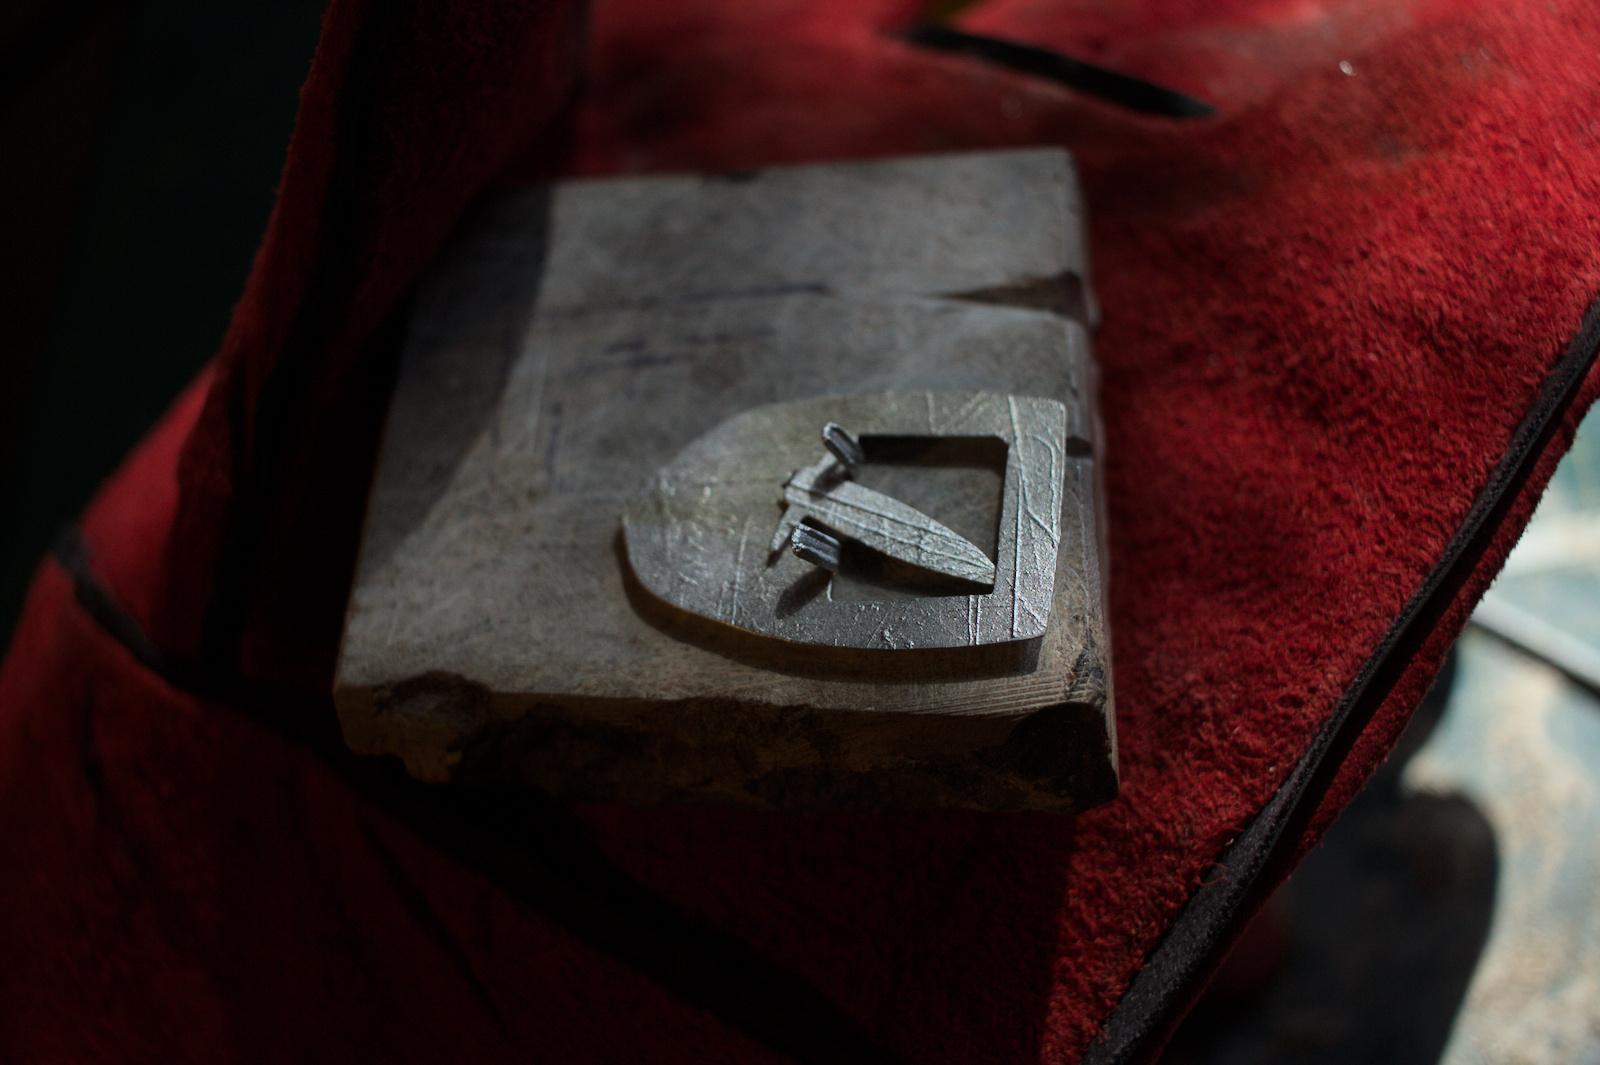
Reverse of a cast (and the back half of the mould). Here you can see how the tabs are being folded over. I am using the hot mould as a heat resovoir in the hope that that helps bend over the tabs. One of these later broke and I more or less reattached with a soldering iron.