projects
contact/buy
Experiments with Sandcasting
For simple shapes sandcasting seems prefferable to plaster investment casting, the sand is reusable and can be moulded more easily from a reusable positive, and it avoids the obligate burnout phase so can be done mroe quickly. The surface finish that I have acheived tends to be rather rougher than either soapstone or plaster, but the ease of doing it may make that worth that drawback.
The Flask
The flask I've been using is just two peices of aluminium pipe. The greatest trouble with this is that it makes alignment slightly more difficult. The aluminium seems fine even for aluminium casting, as the sand is quite insulative.
Making the positive
I played with a few ways of making positives, including direct impression of i.e. polymer clay shapes, or other castings from other moulds. The greatest trouble with pressing shapes into the sand is that it tends to displace the entire surface of the sand a little bit, with unfortunate results for the end product. I think careful sand packing can solve this, but its more easily solved by packing the sand onto the shape.
The solution which Ive settled on is to use a 3D printed plane with the shape I want cast embedded in it. This plane is put on the bottom of the flask, and sand packed in ontop. I start with a few thin layers of sand pressing carefully so as to not leave an cavities, and then once the entire print is covered I just fill the space somewhat. It helps to fill the flask entirely so that the sand doesn't slide as block into the flask.
My solution to alignment has been to place a single small hole in the plane on both top and bottom in a place that doesnt interfere with the casting. A small wire is poked into this hole before I remove the plane, so that both the sides have an identifiable point. When placing the moulds against eachother I put the wire into one, and then carefully slide the other one ontop in the correct position. I'm surprised how well it works.
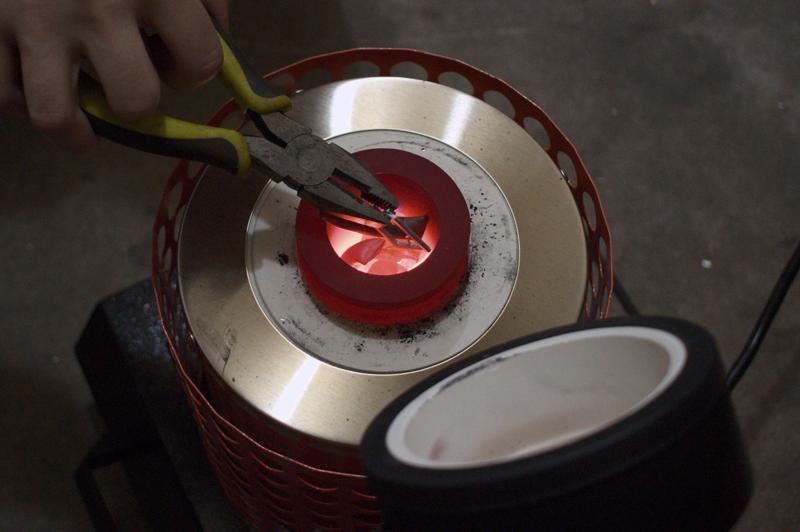
Casting and Post Processing
Once all this is done one simply pours the metal in, perhaps with some pressure on the top to keep the two halves of the mould together. After a few minutes it should be solidified.
Removing the sand is unfortunately a bit of a job, I try to brush it off and rince it with pumice soap but its not perfect, although of course sanding it removes it. After clipping off the extraneous remains of the casting process, I filed it smooth and polished it a bit. In this case there was a small peice to bend and then it is finished.
Concluding Thoughts
Compared to soapstone casting this I think takes more hand work but may be faster. On the other hand it requires more post processing if the peice needs to be pretty, so I'm not sure which is better. There's something to be said for being able to cast from a CAD model, which this offers over soapstone, and this is certainly easier than investment casting of 3D prints, provided the shapes are simple.
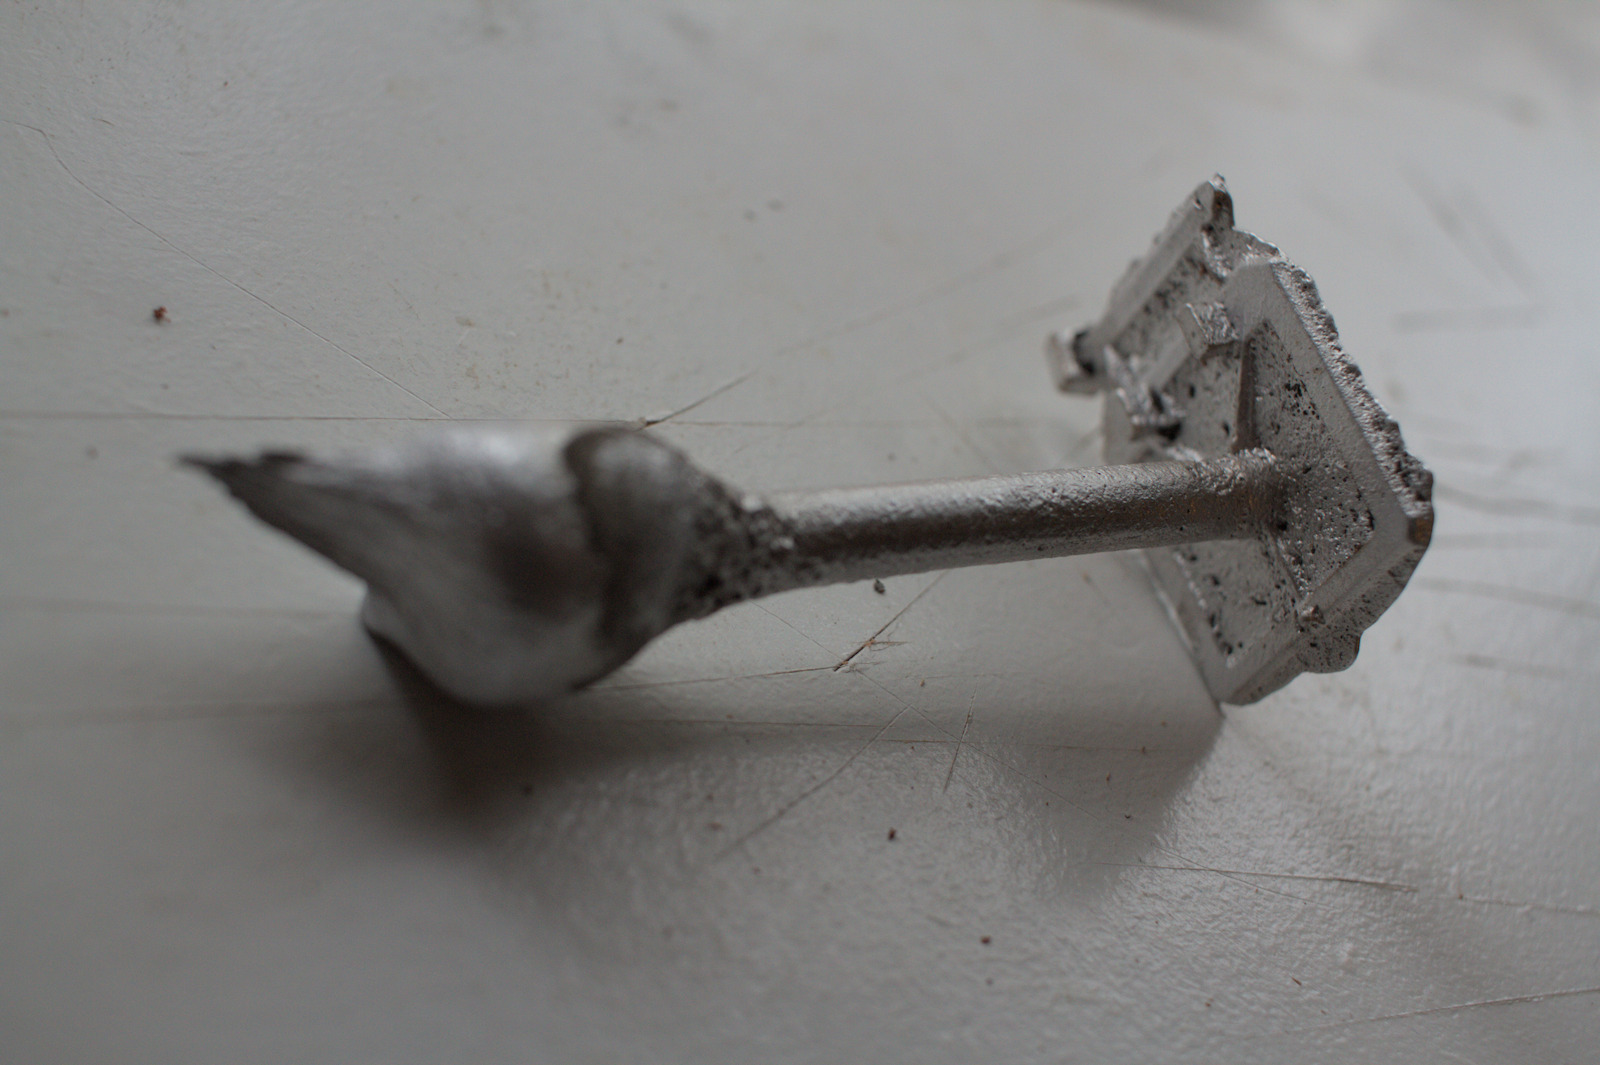
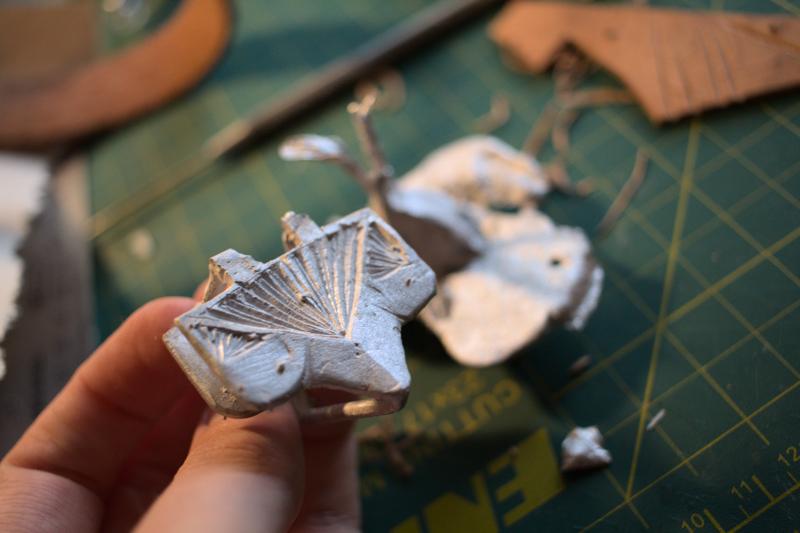
A cast in aluminium showing spillout caused by pressing a mould into the sand and displacing the entire surface.
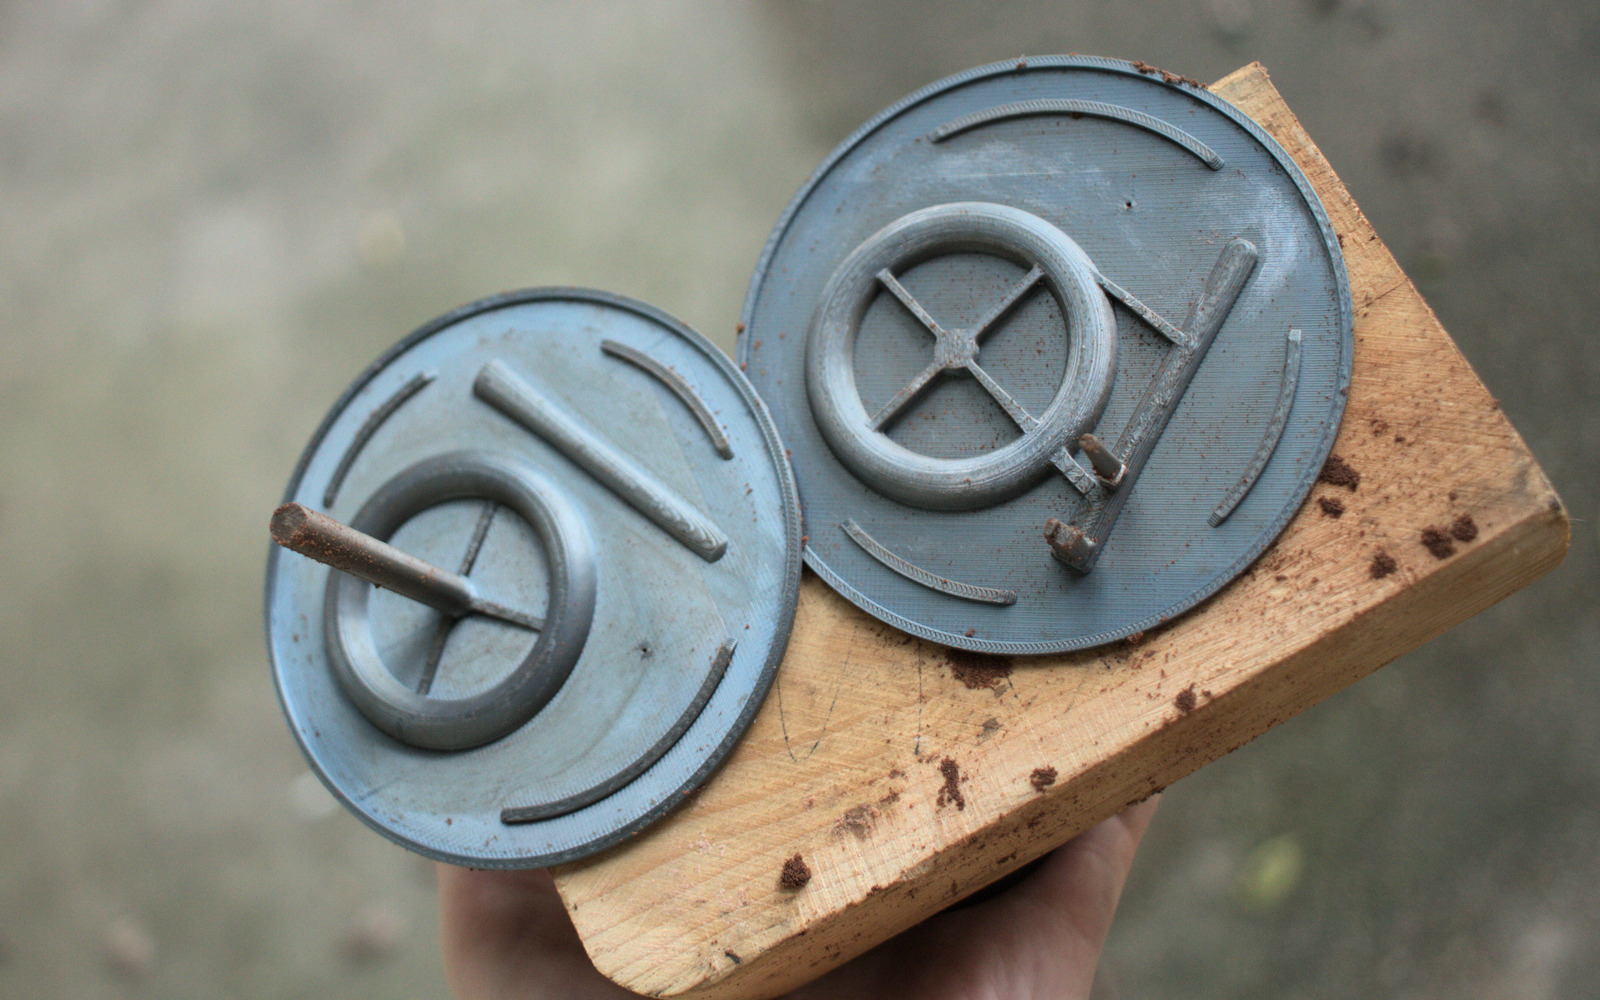
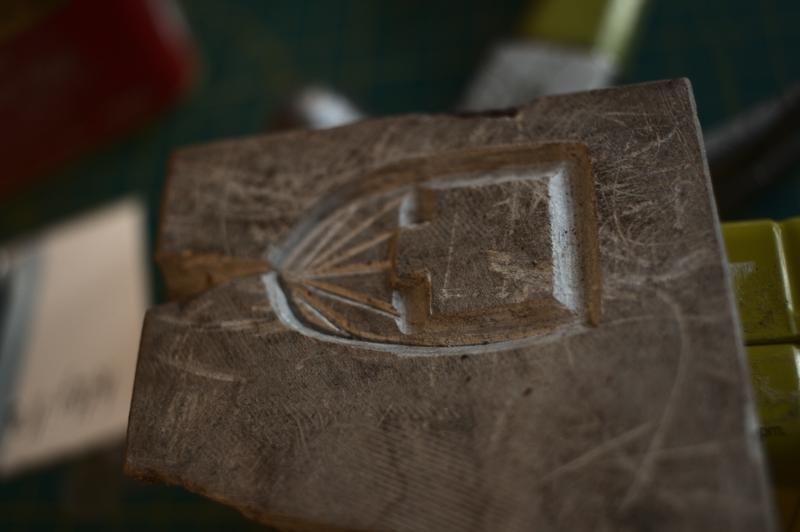
3D printed positives, lightly polished using acetone to remove layer lines. The walls are to help alignment with the flask, and you can see the hole for alignment with a pin. The largest upraised cylinder is for pouring in the metal, and the other ones will be bent inward around the torus to attach the buckle's spike.
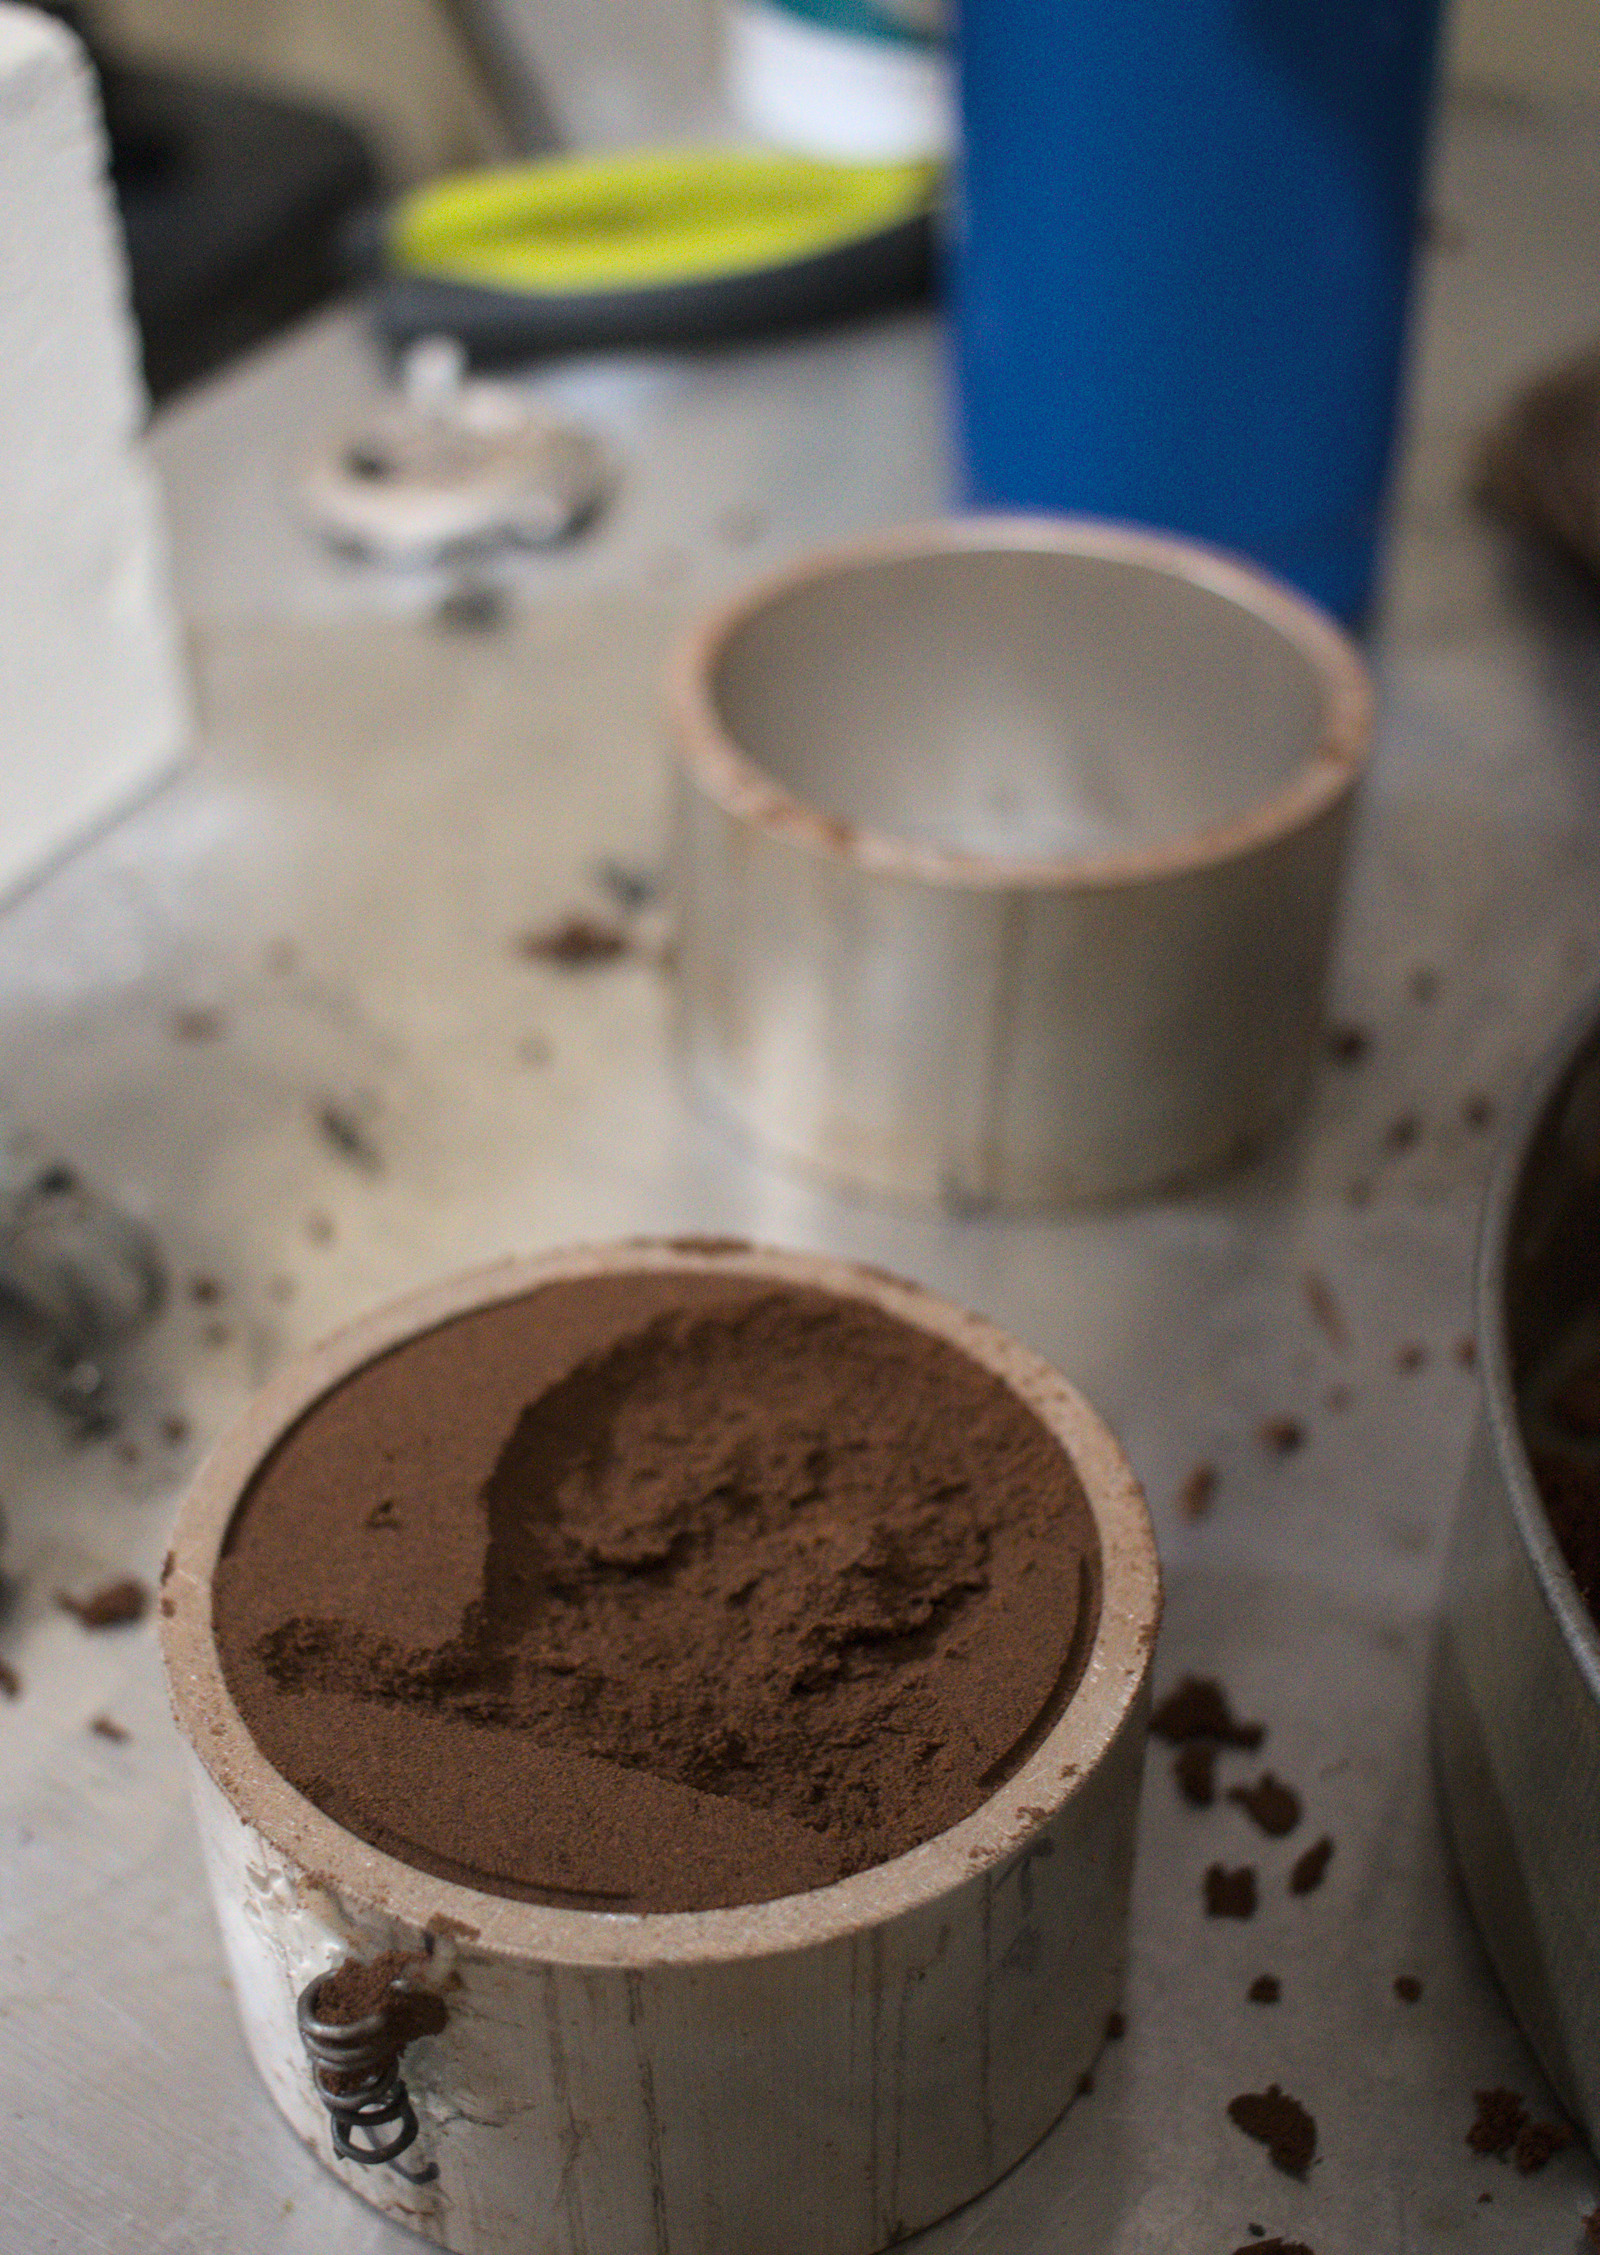
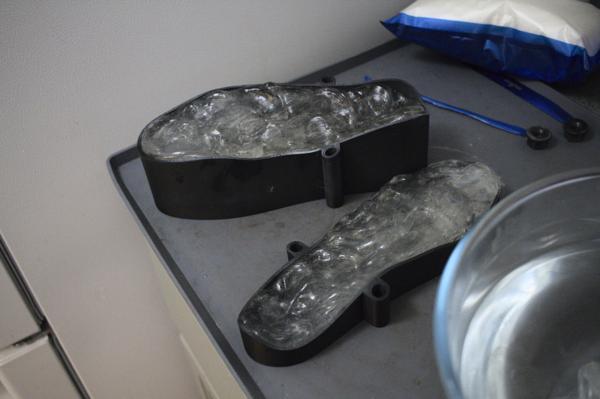
The flasks after removing a cast. The metal coil is part of a pevious and less effective attempt at alignment via external pins.

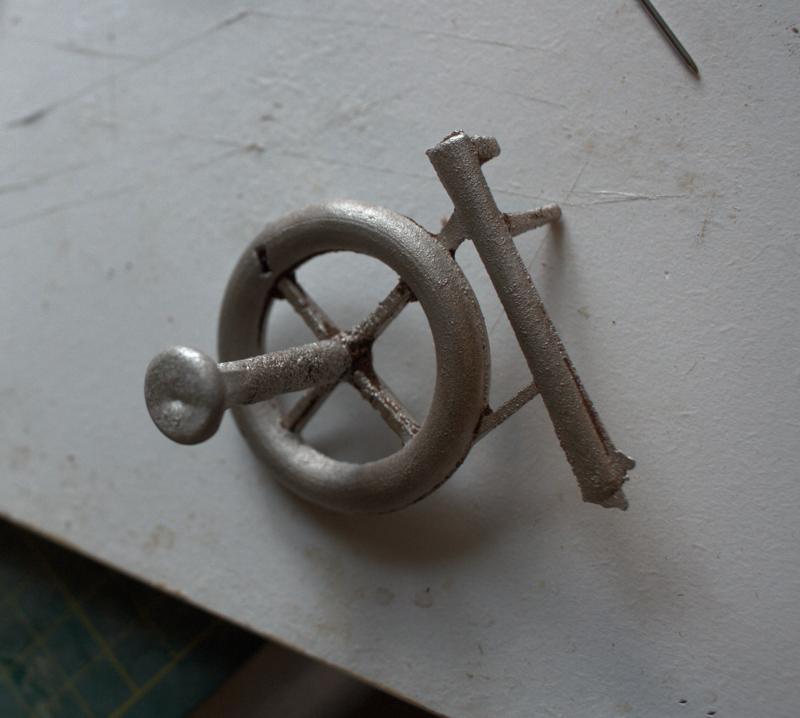
A successful casting after brief cleanup.
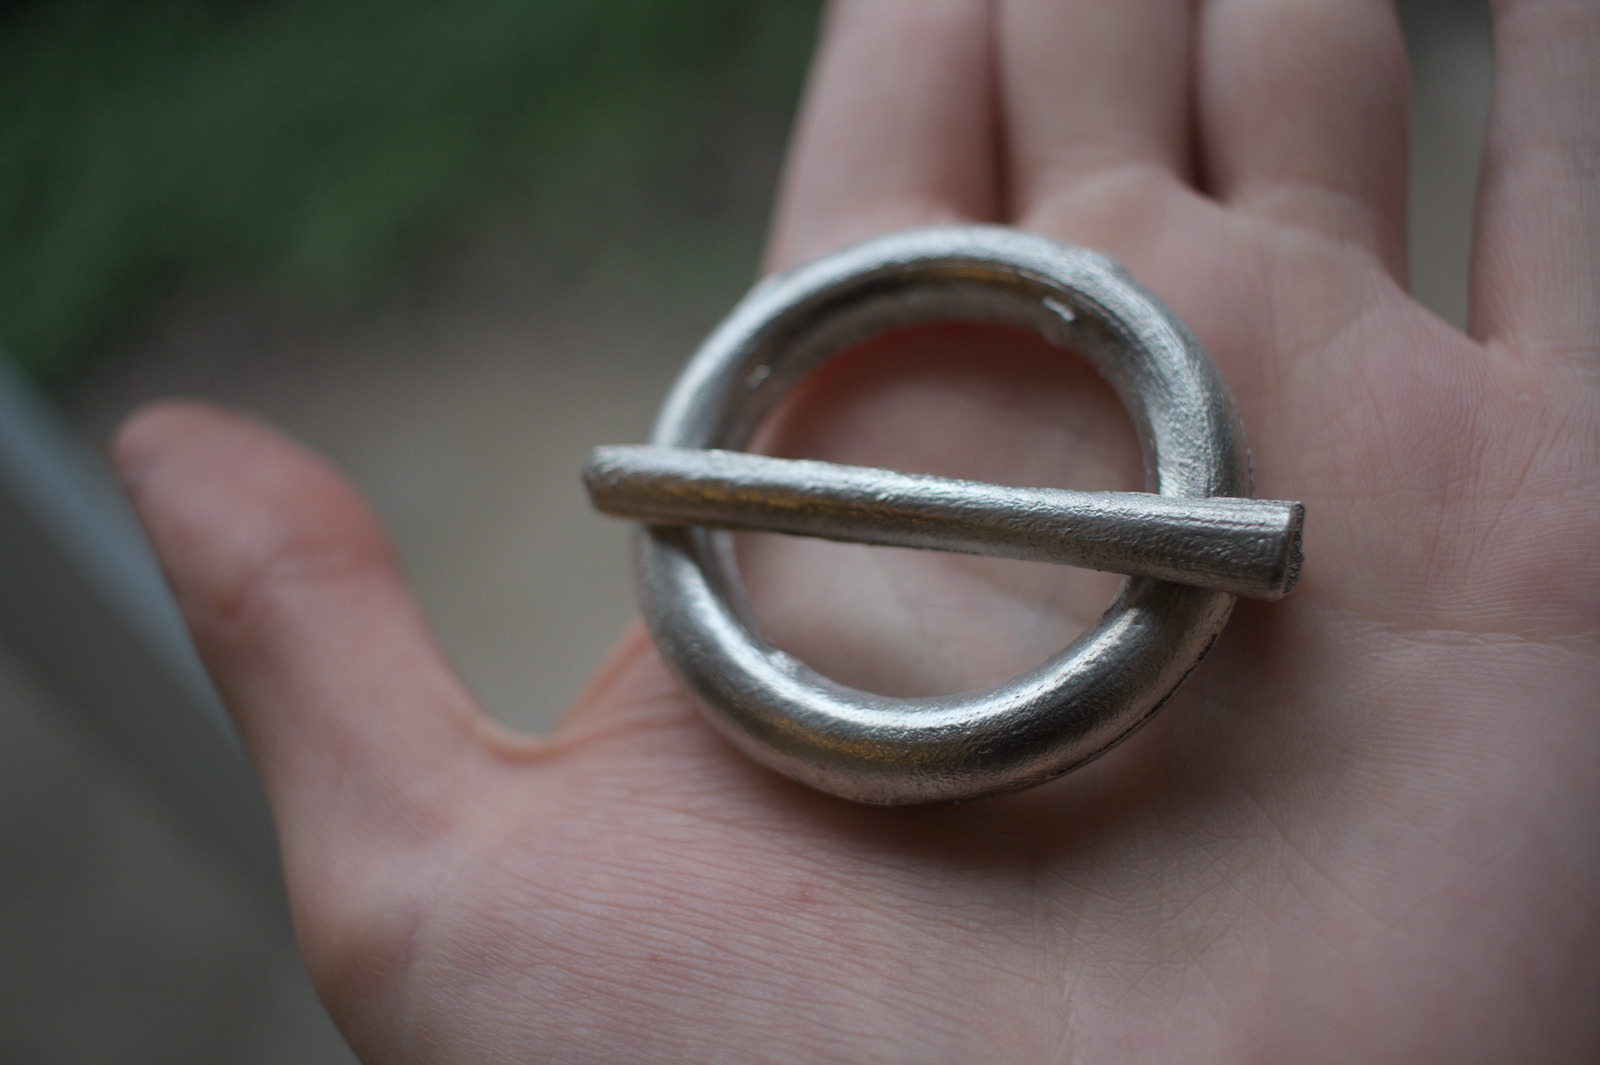
The same casting completed into a buckle